EDGES
My First Ideas

|
|
photos 1
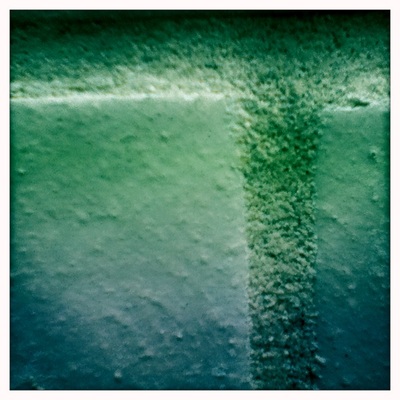
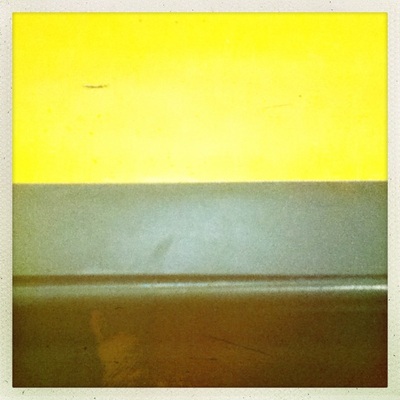
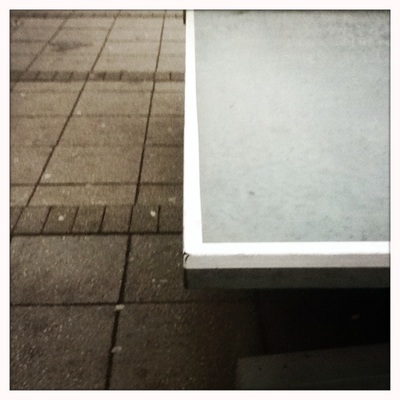
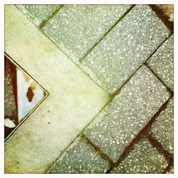
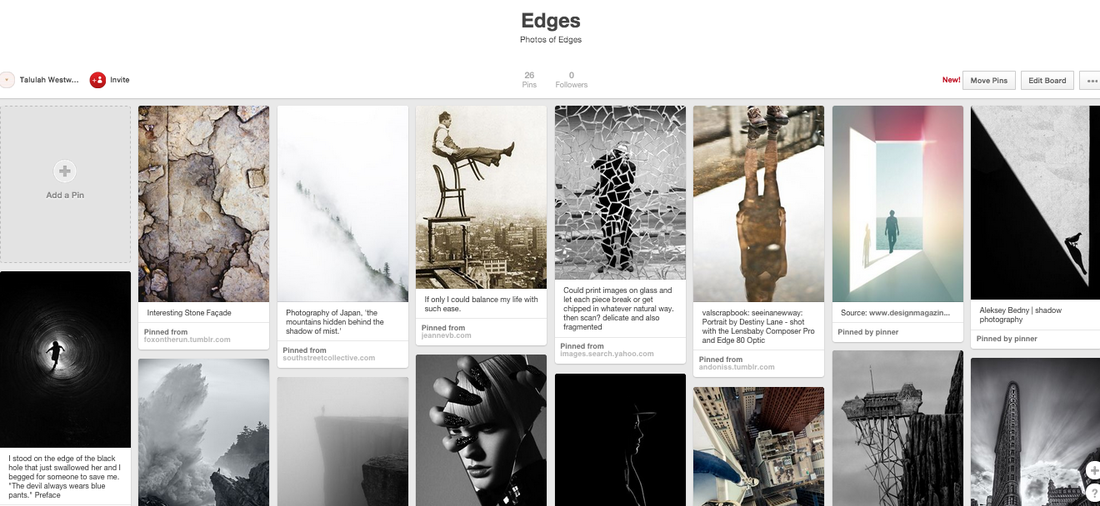
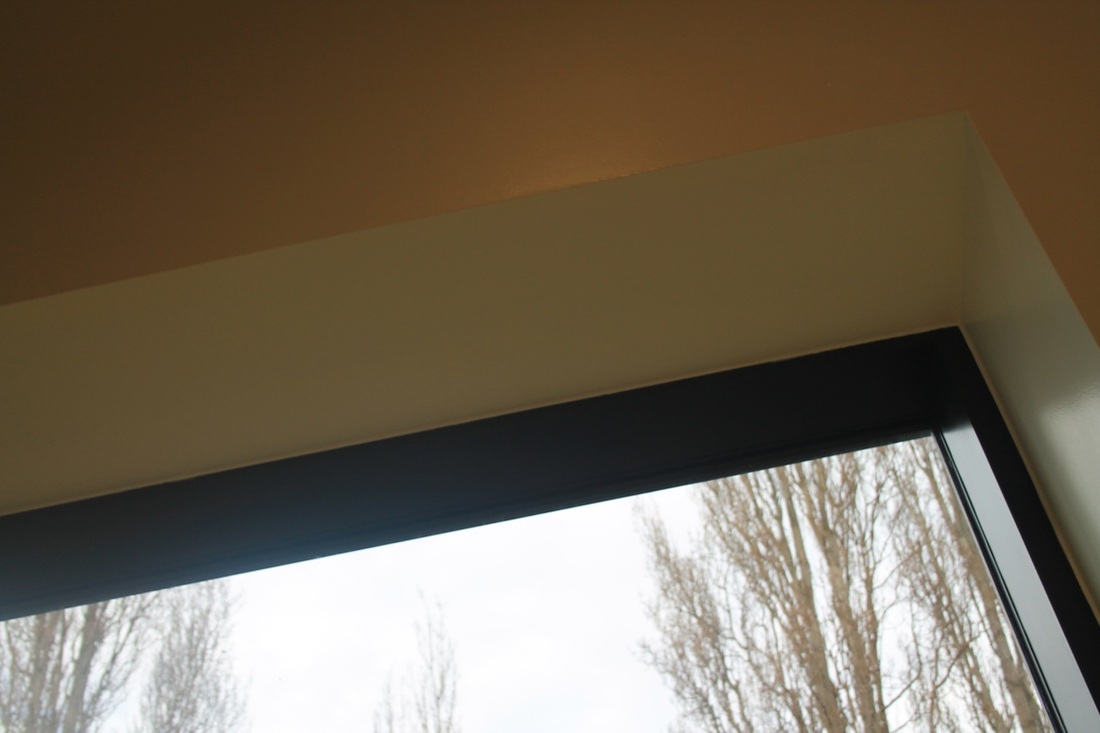
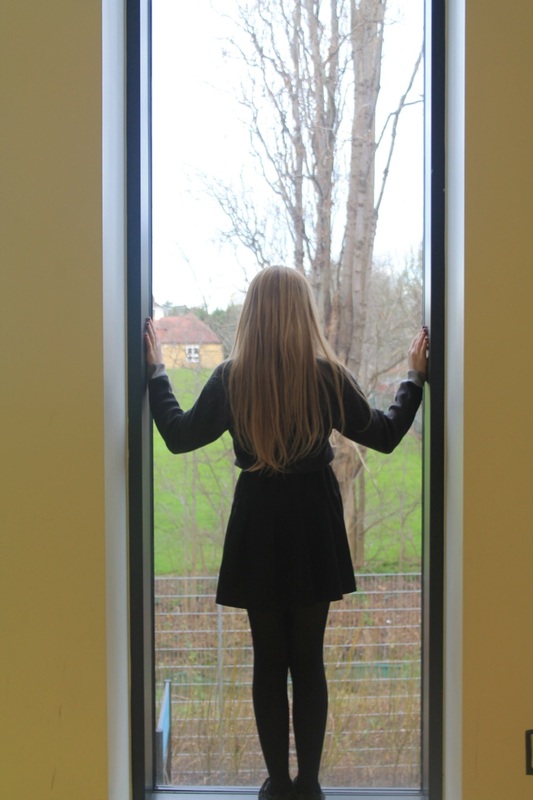
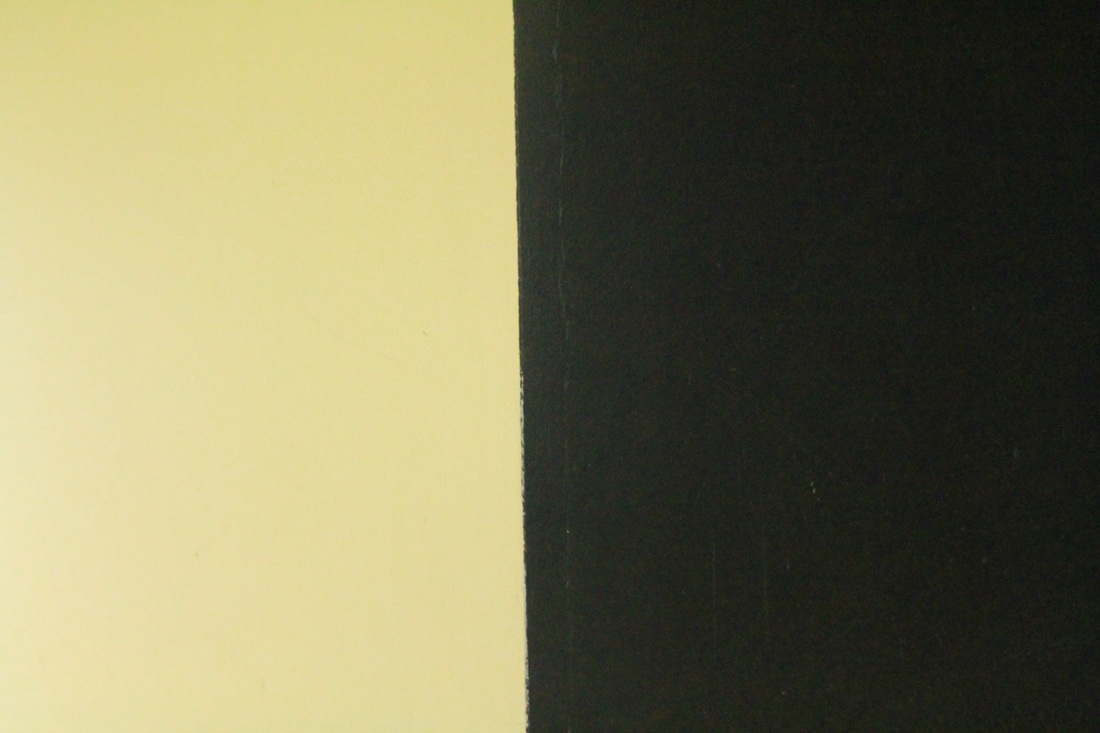
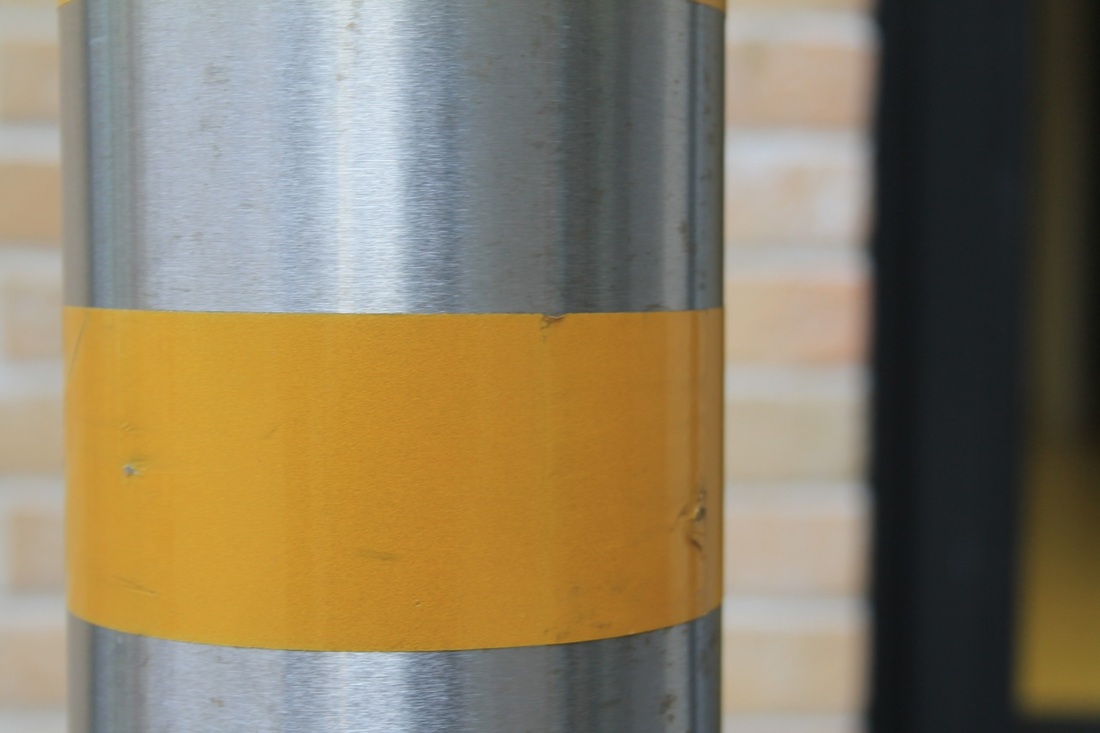
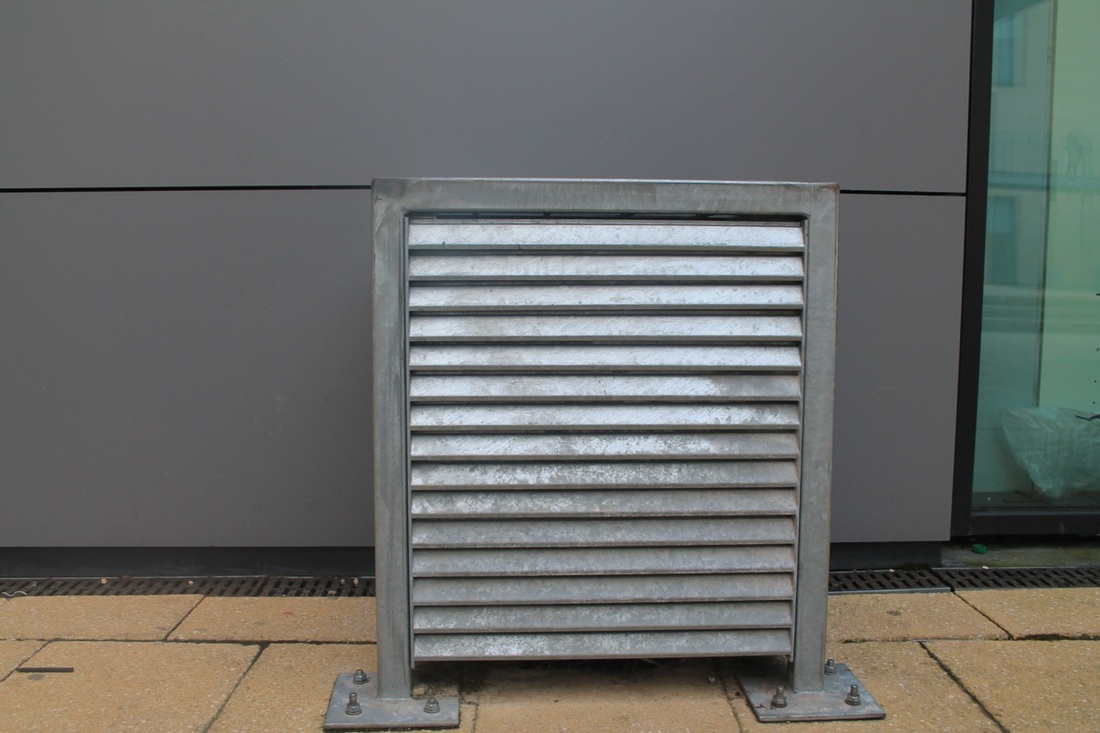
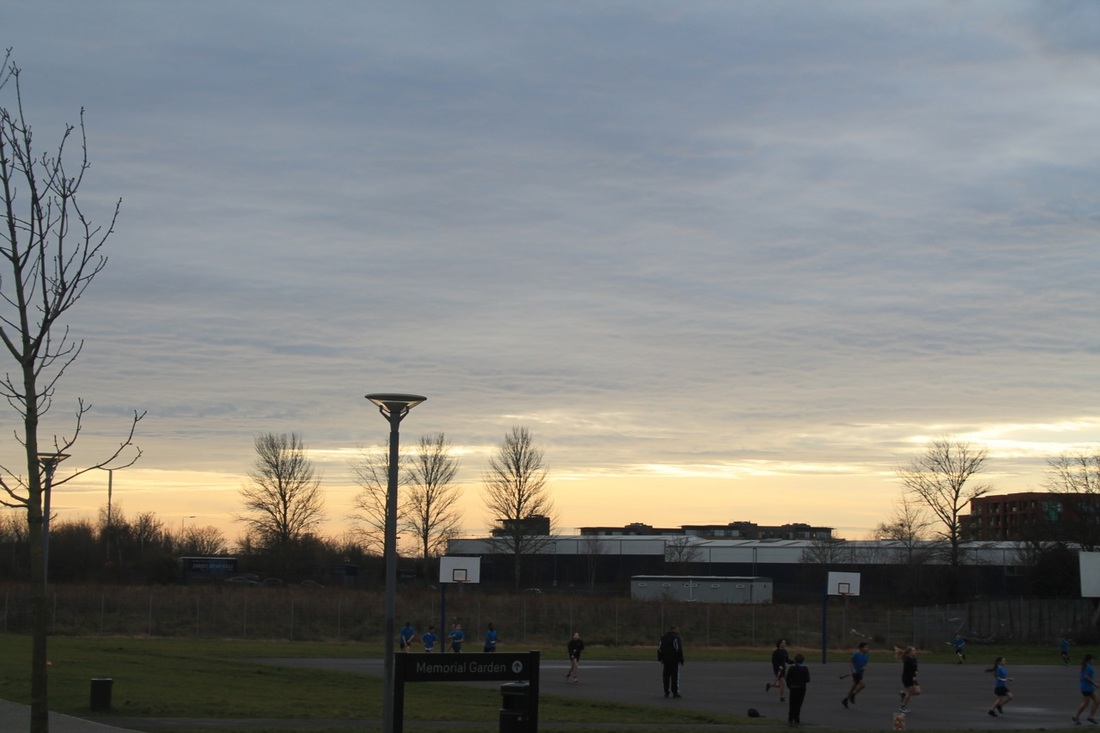
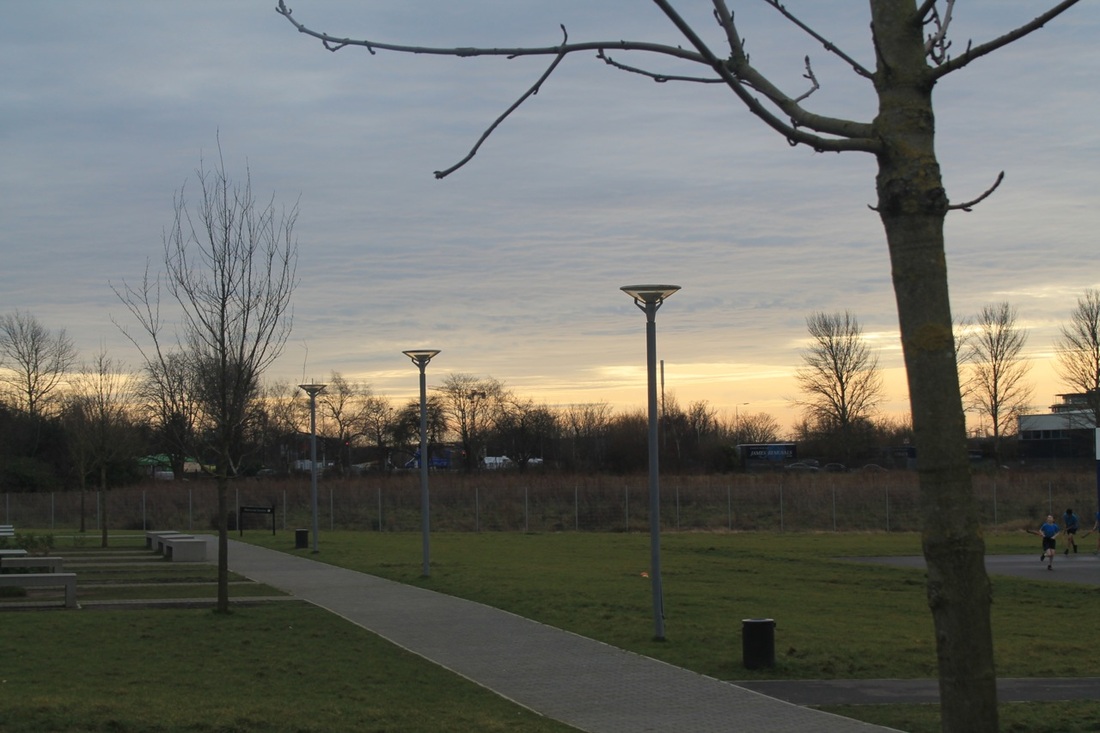
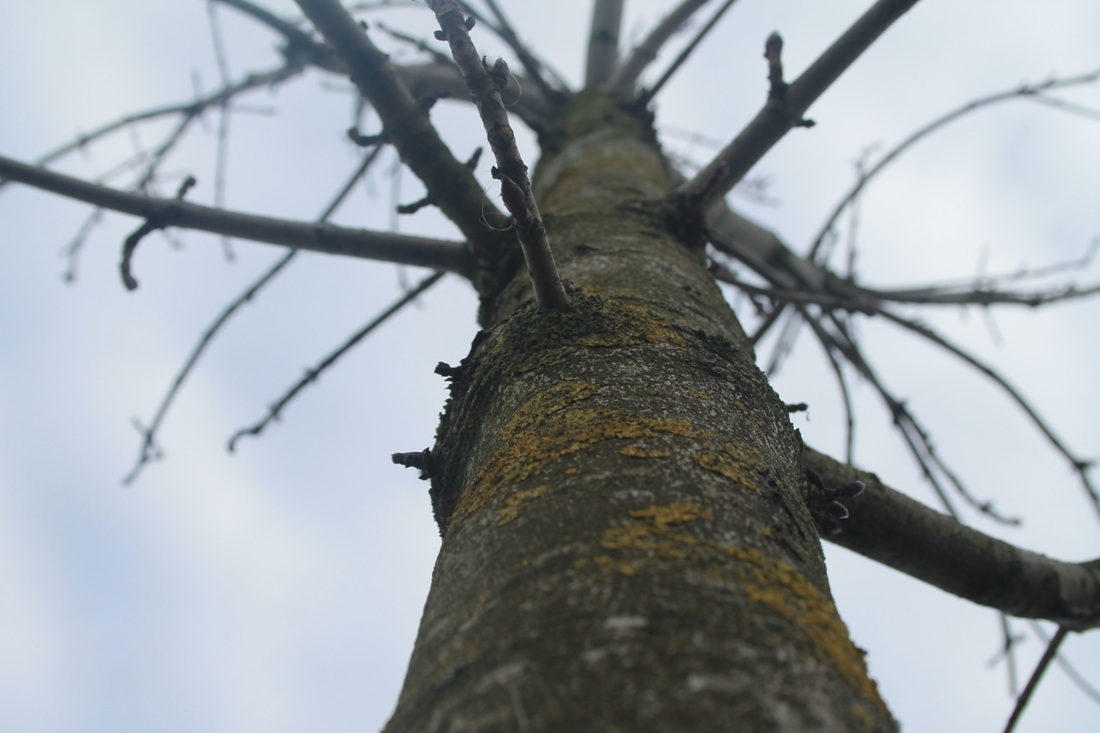
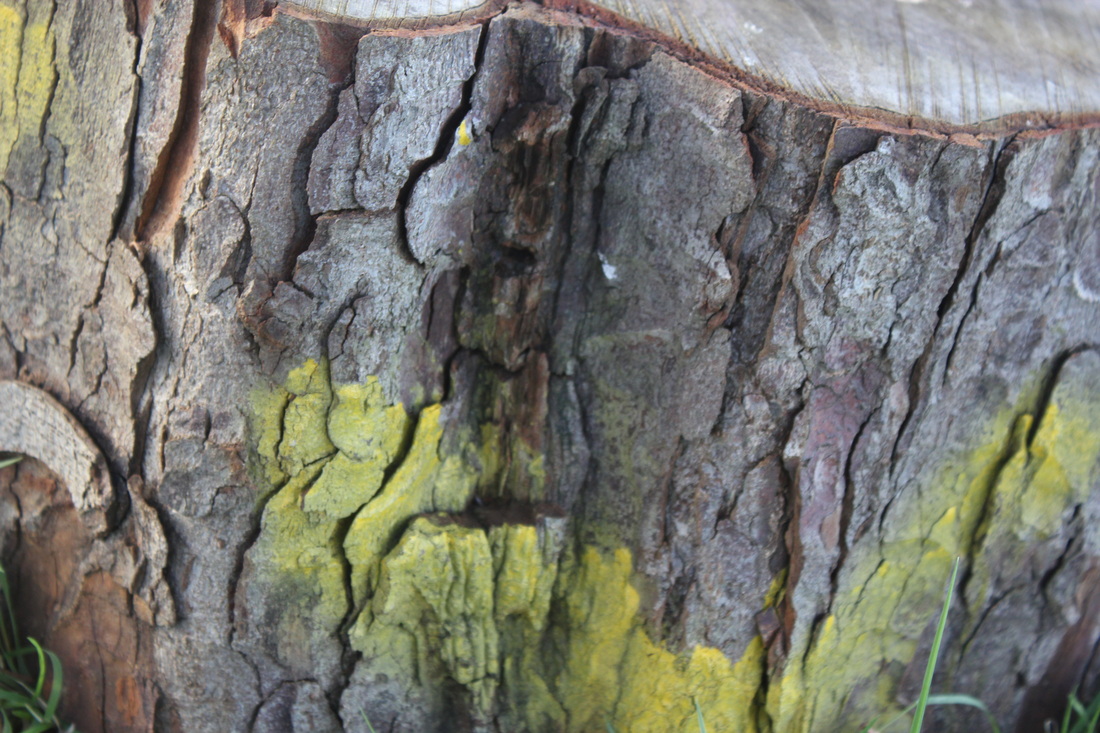
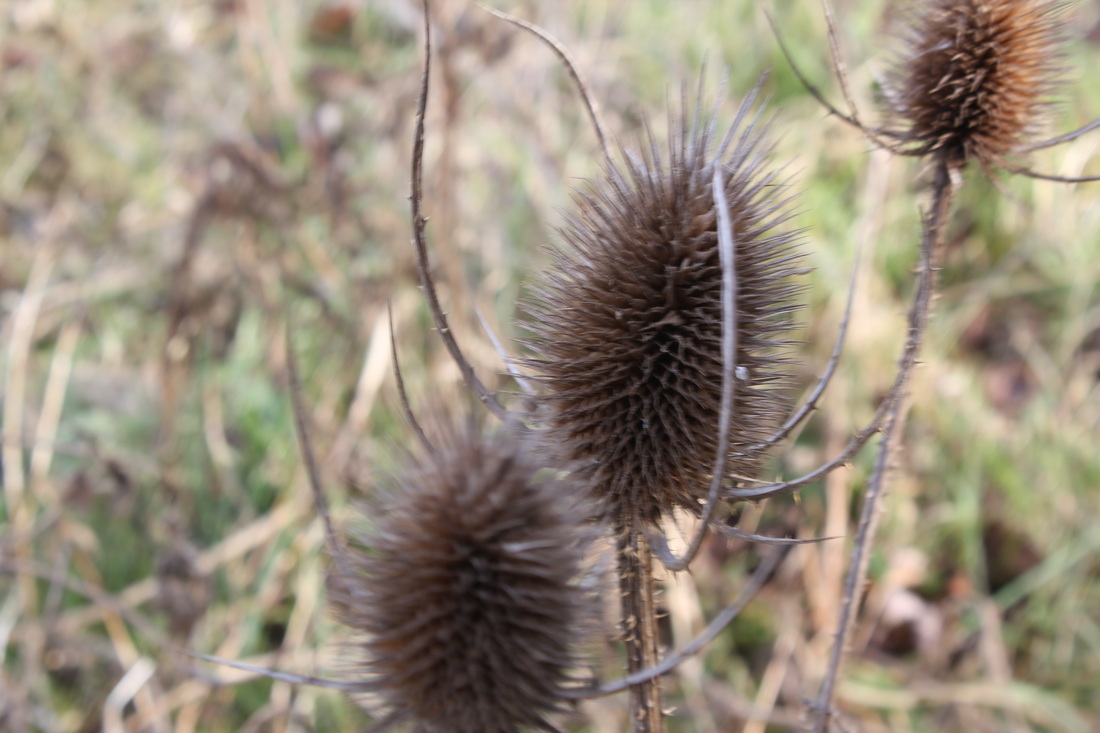
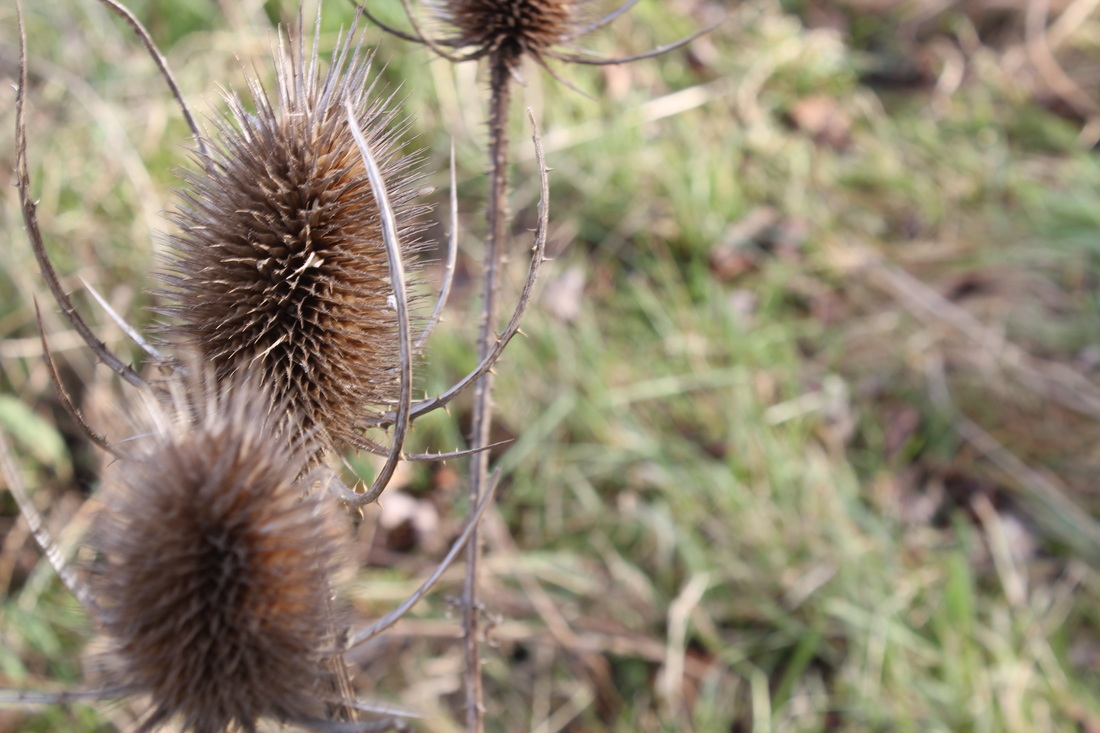
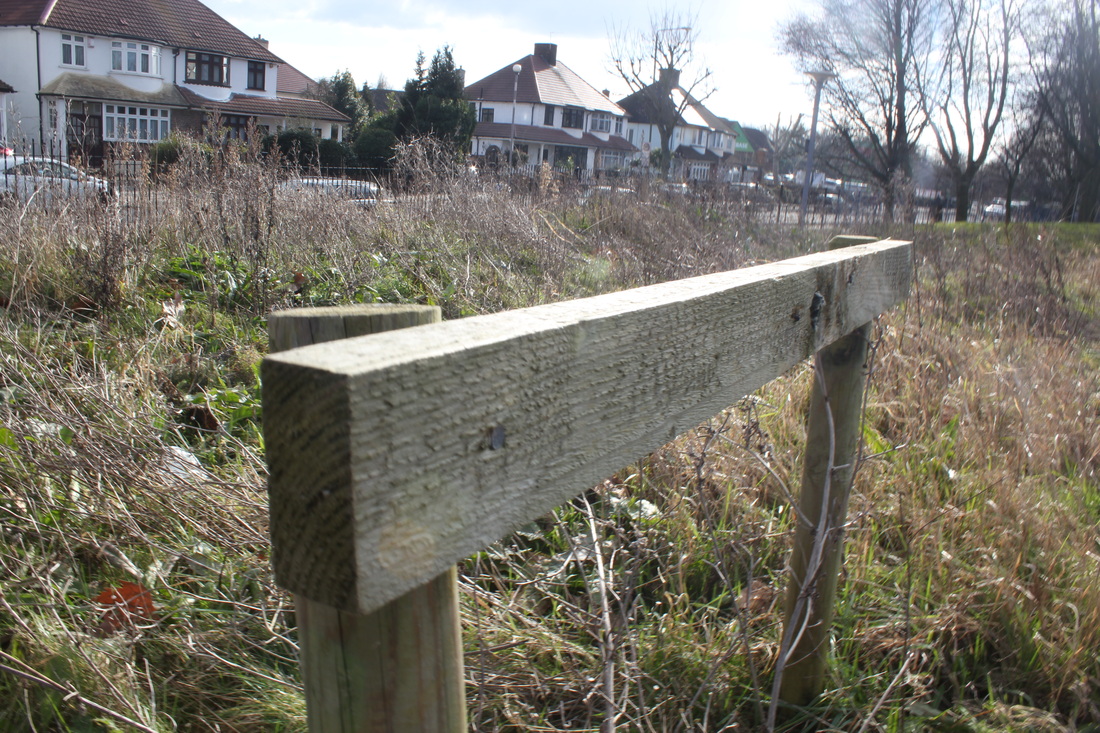
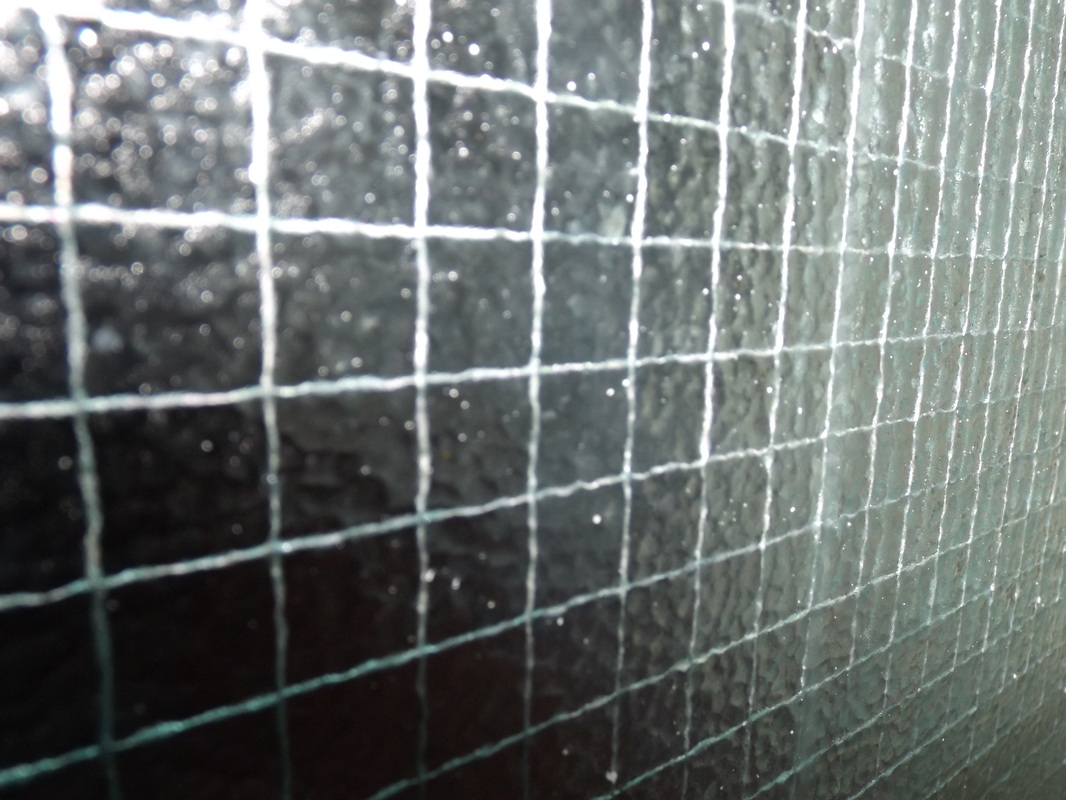
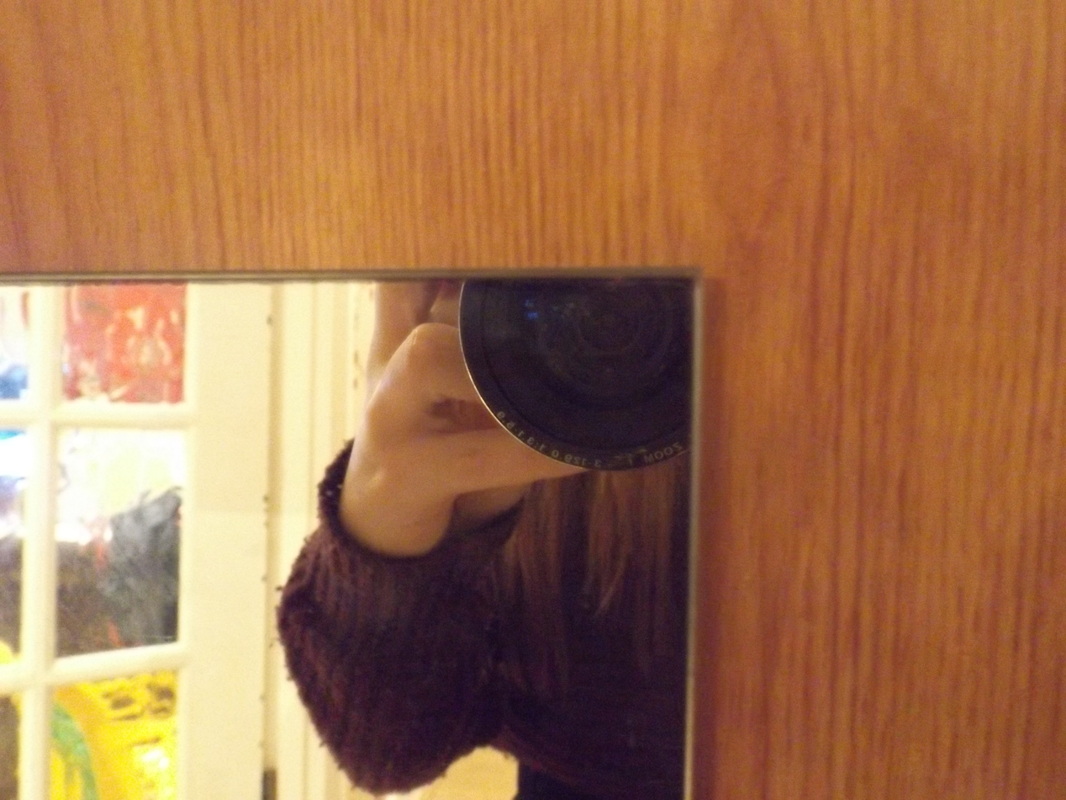
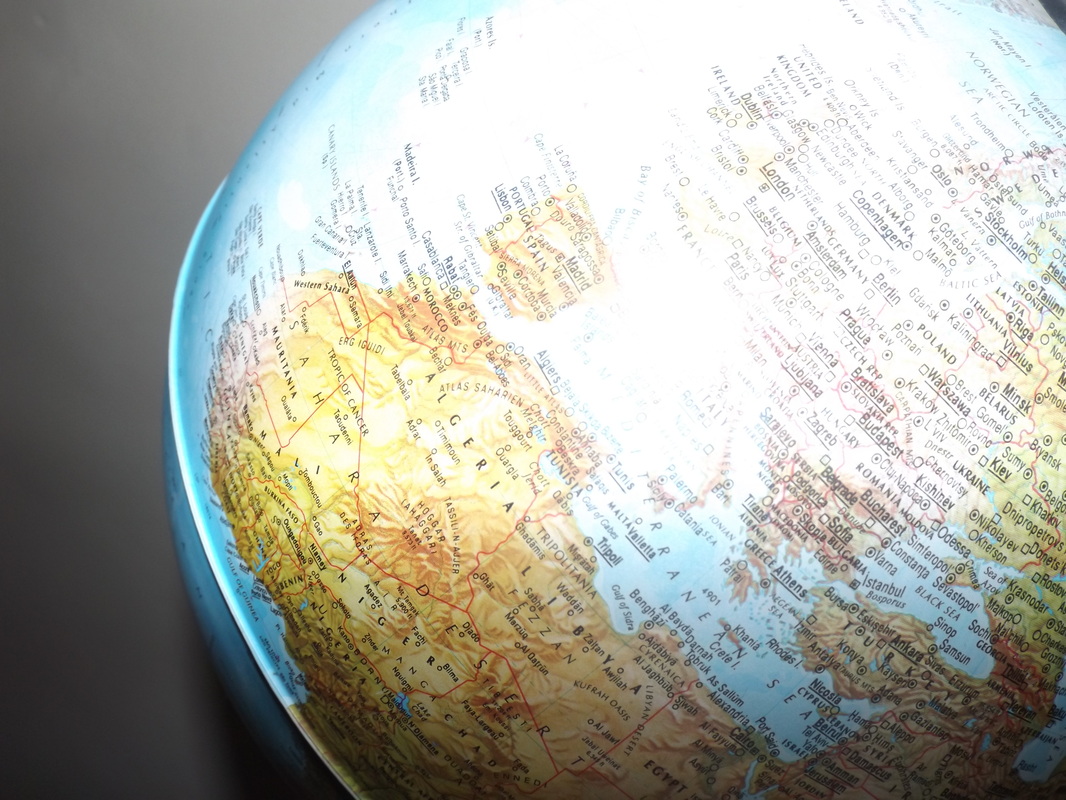
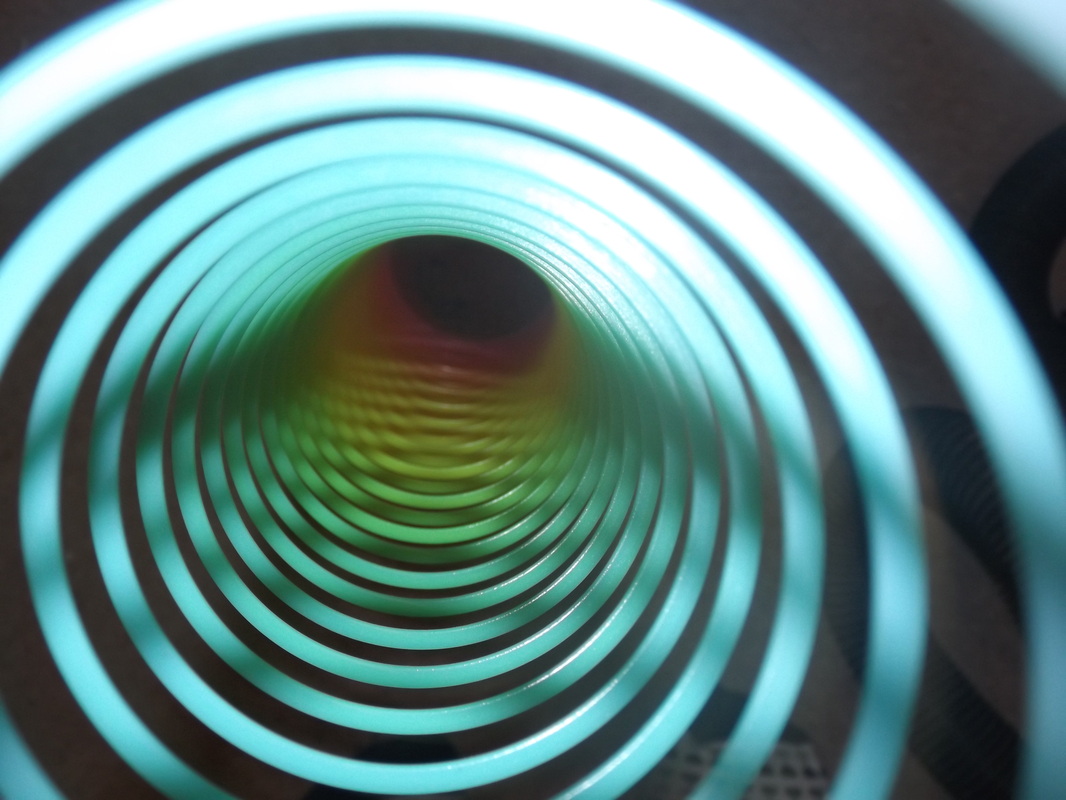
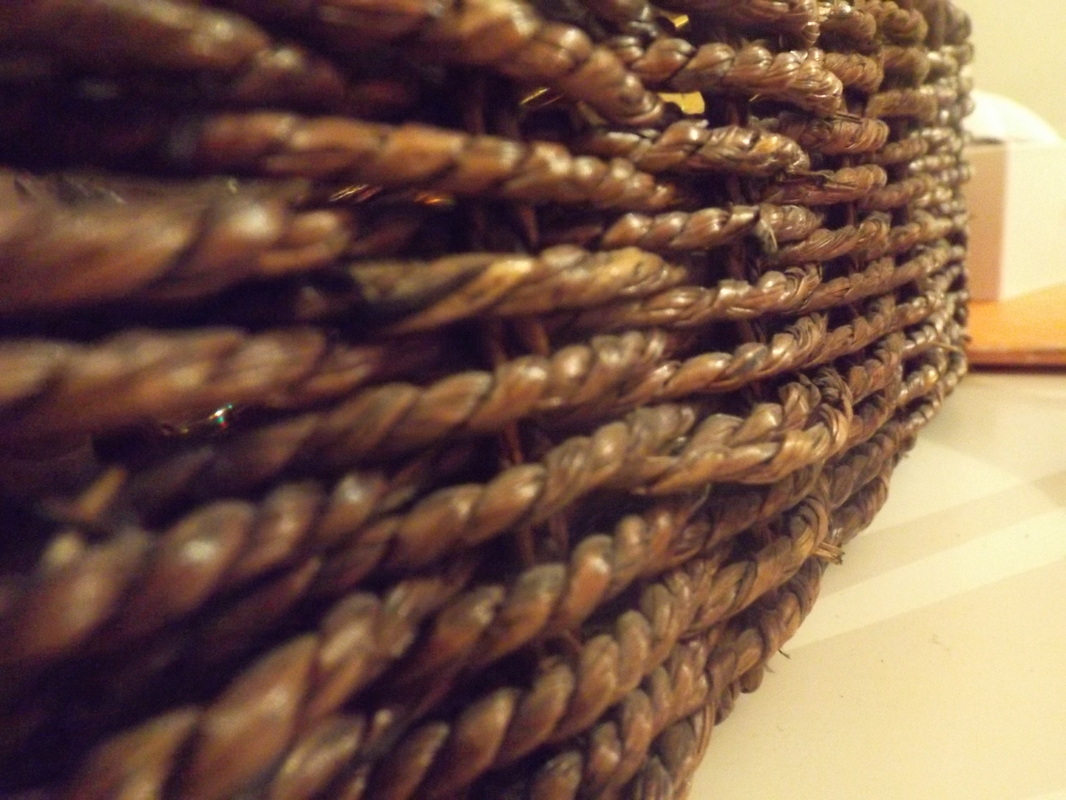
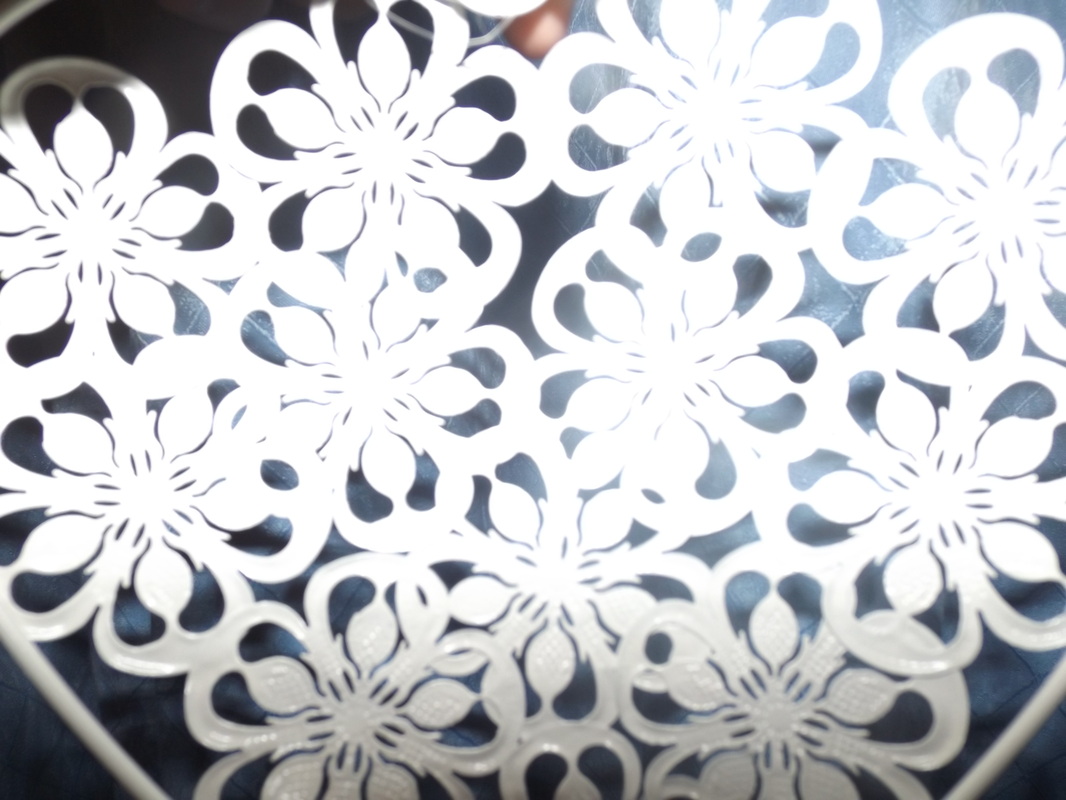
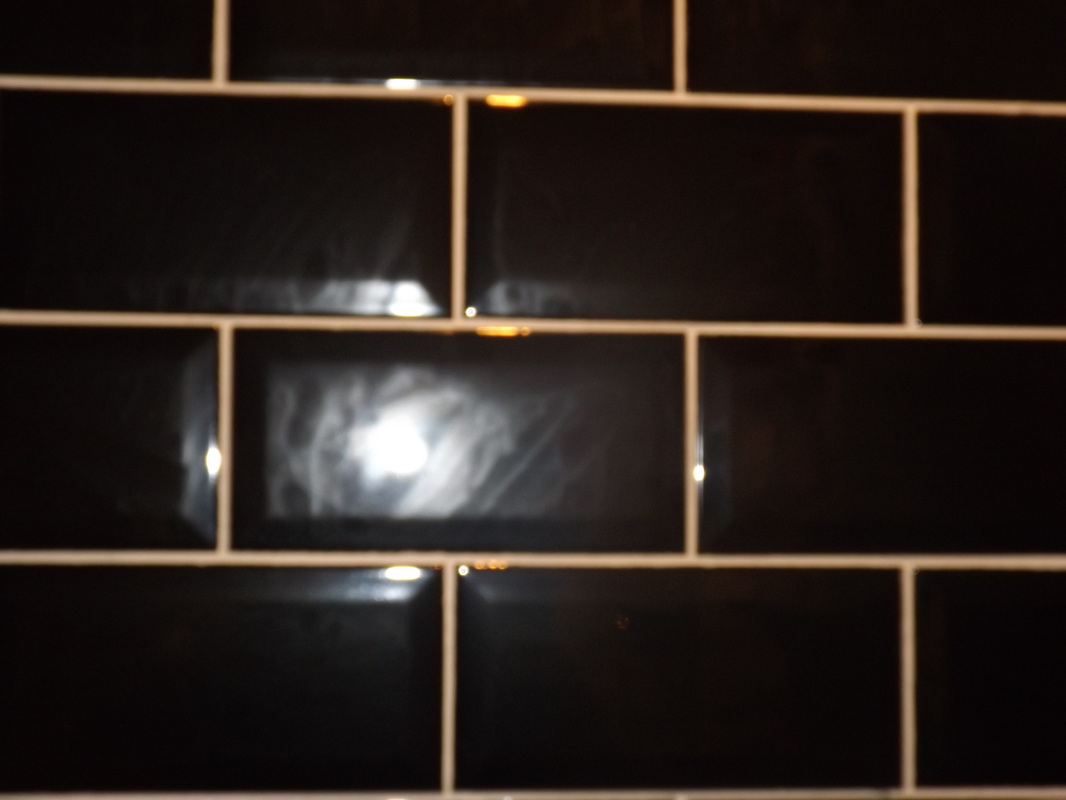
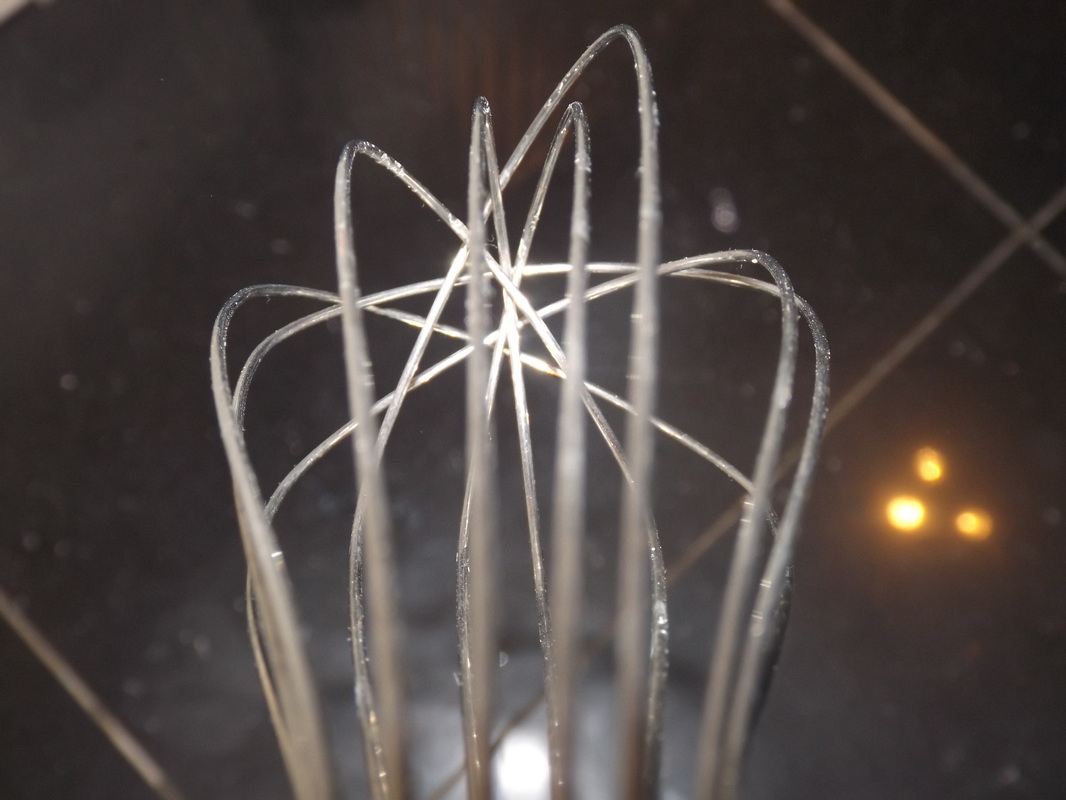
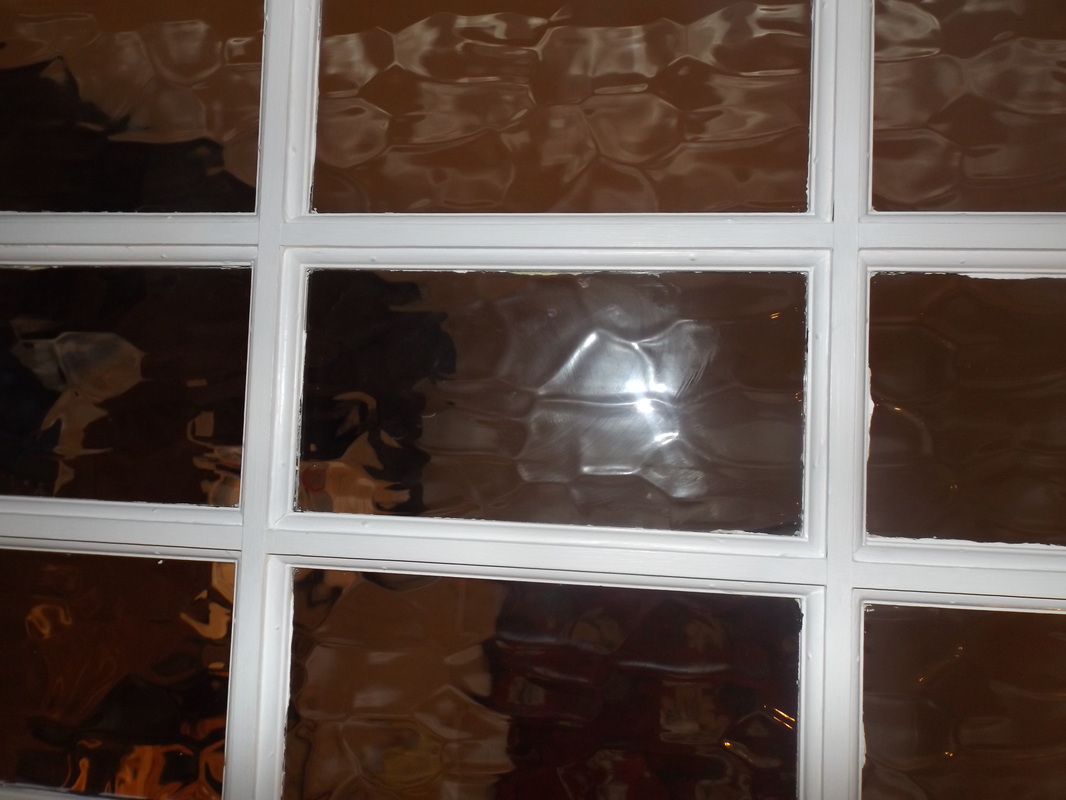
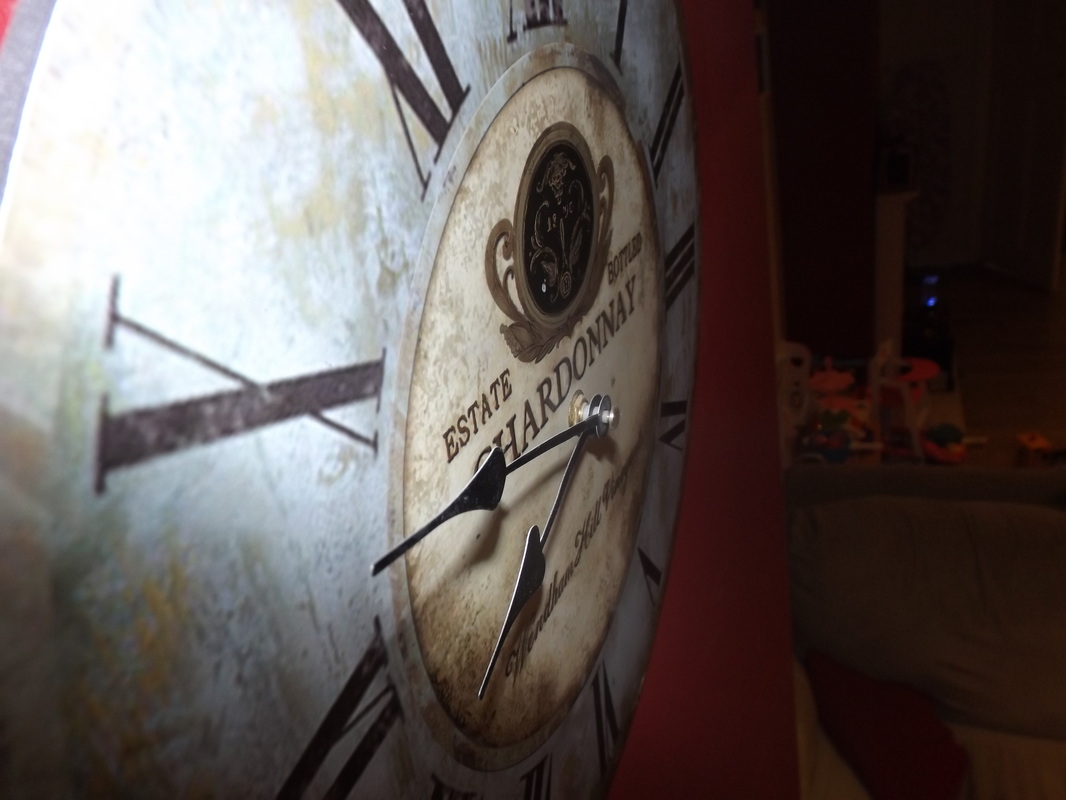
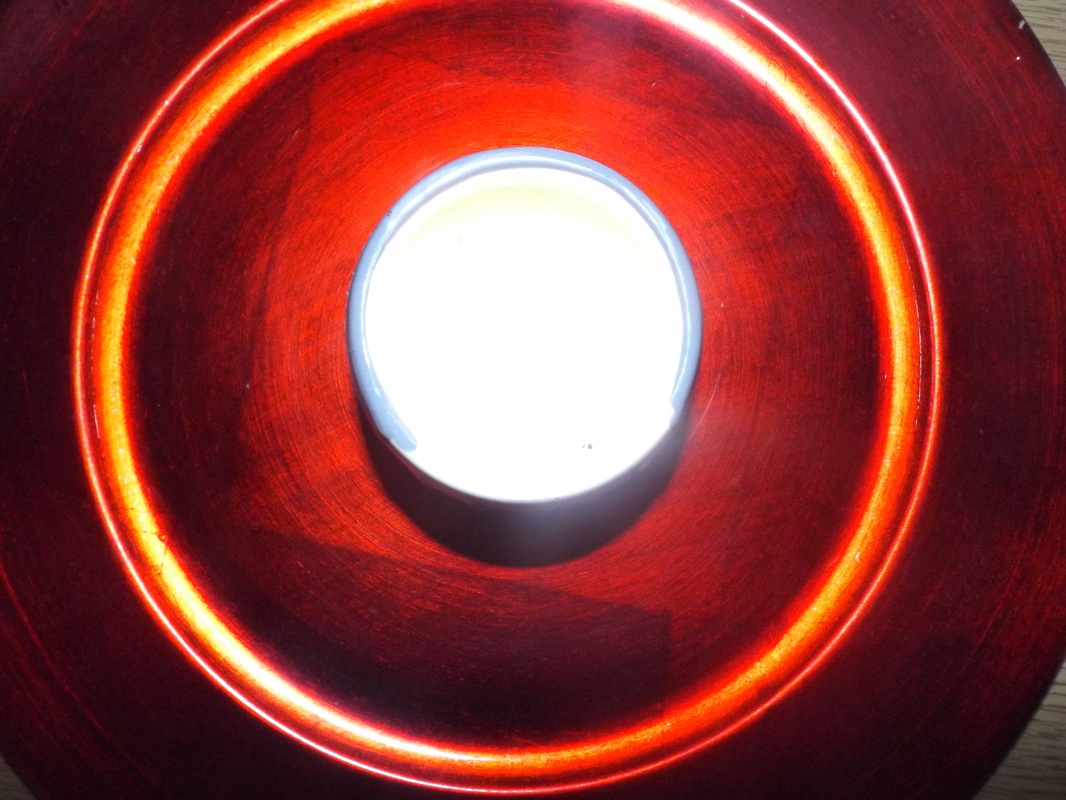
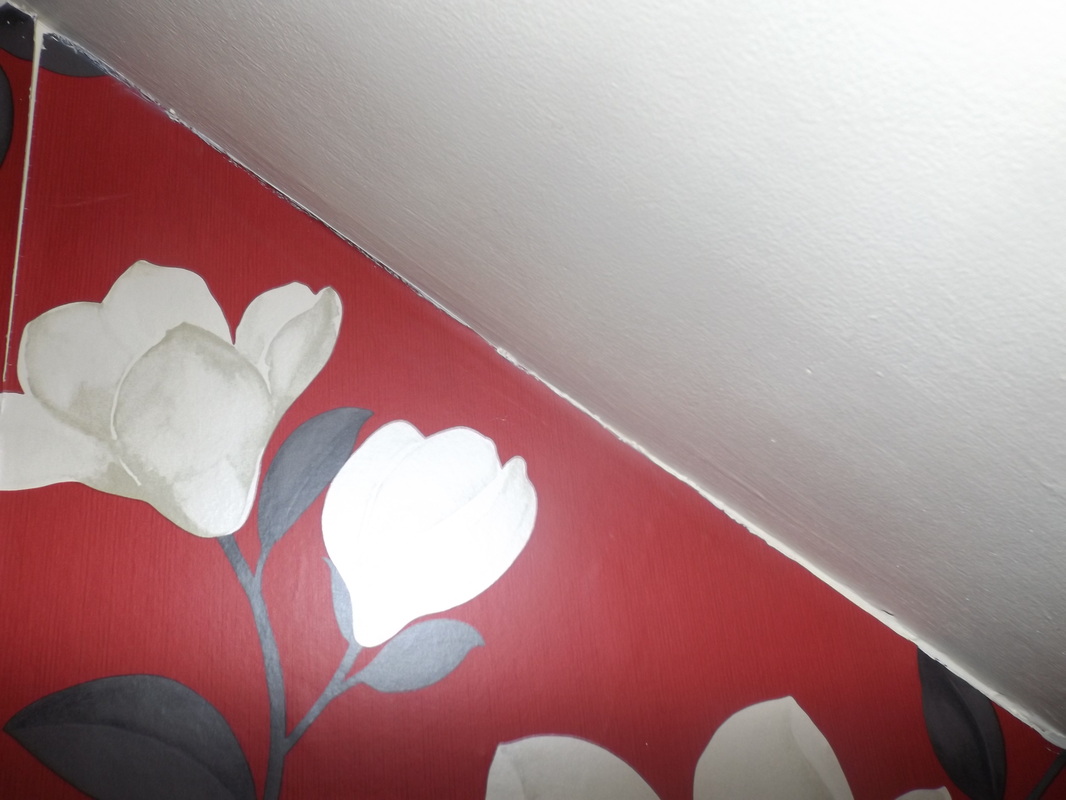
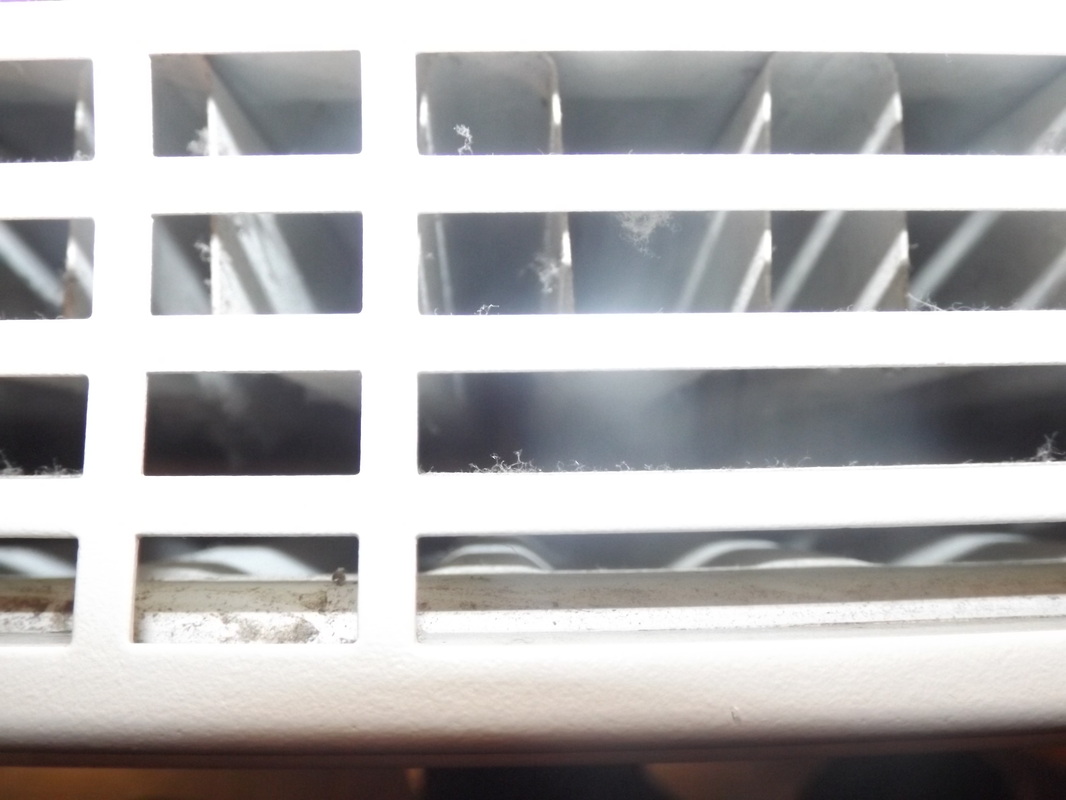
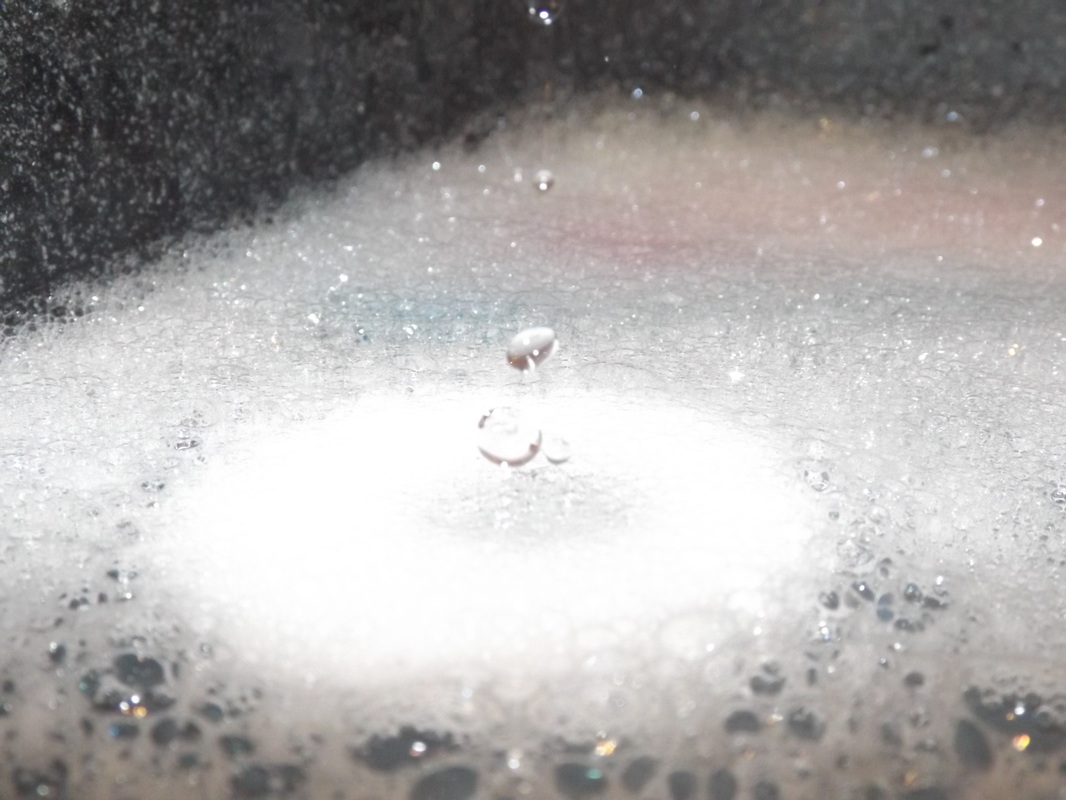
On Monday my Photography class were told to go and find pictures of edges. These are the pictures I took, I like them because there so many edges in one photo. I think I focused more on corner edges so when I take new photos I will focus more on lines and shapes.
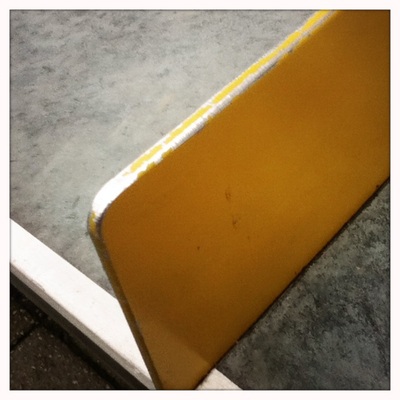
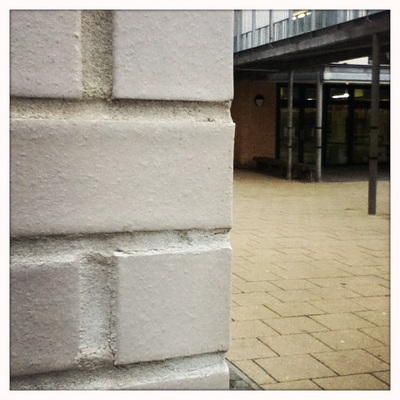
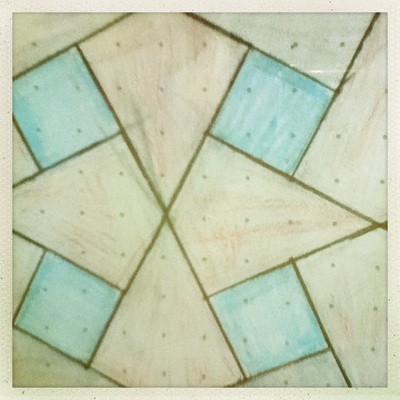
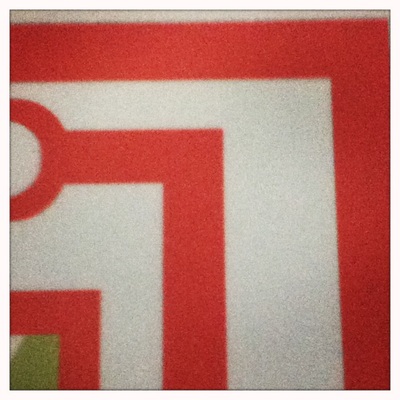
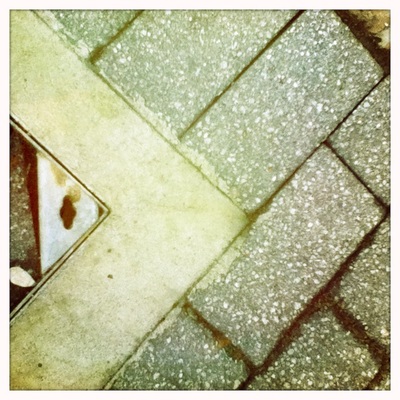
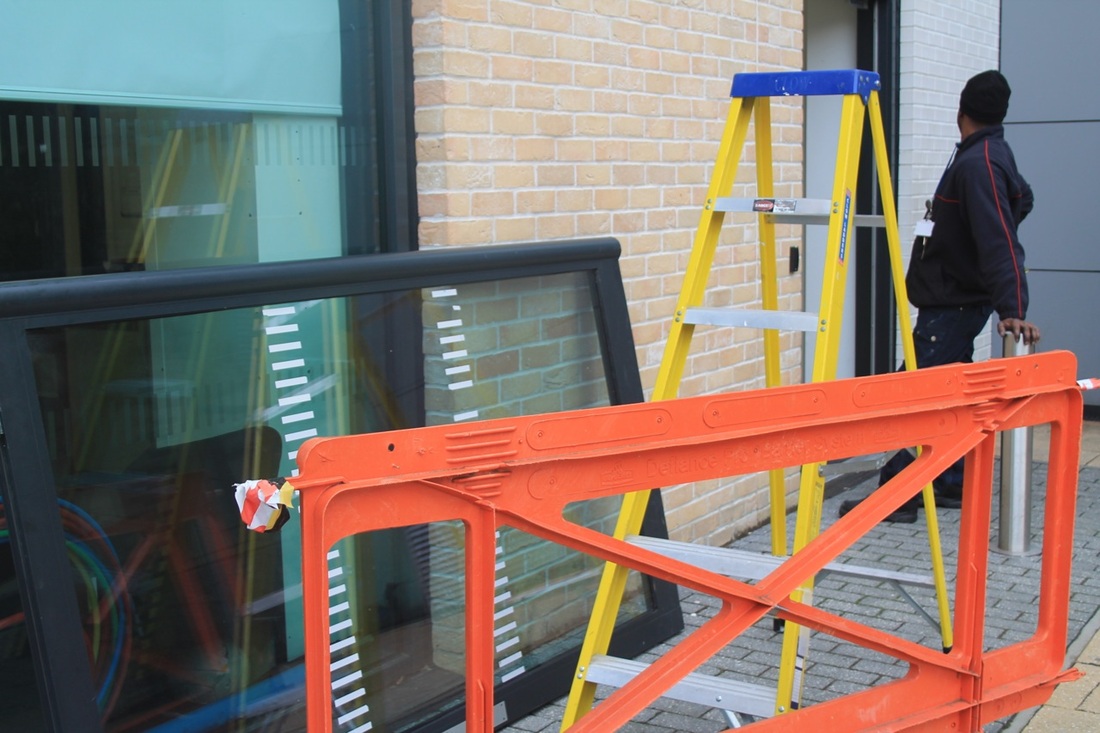
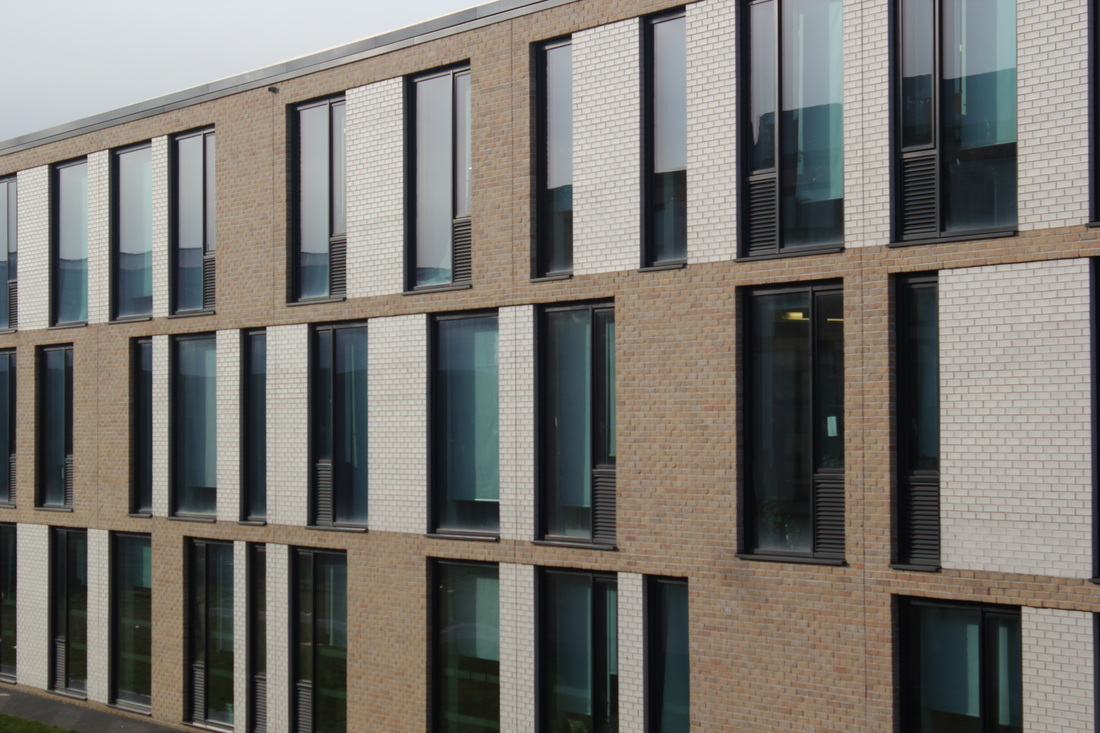
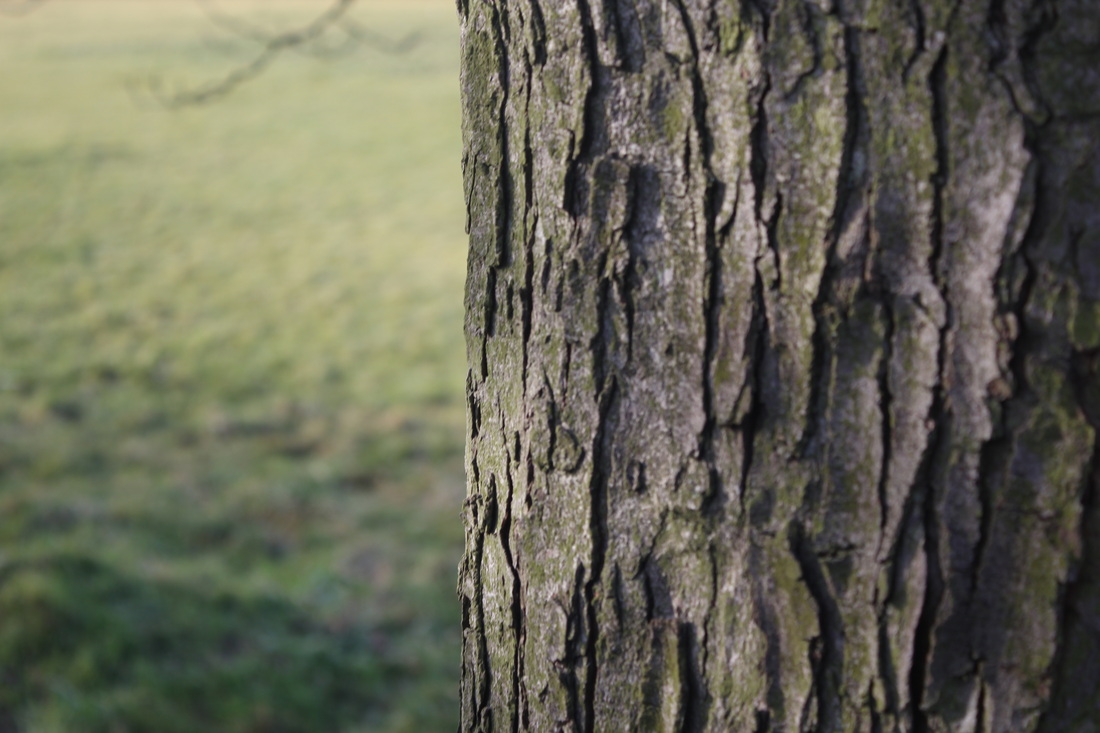
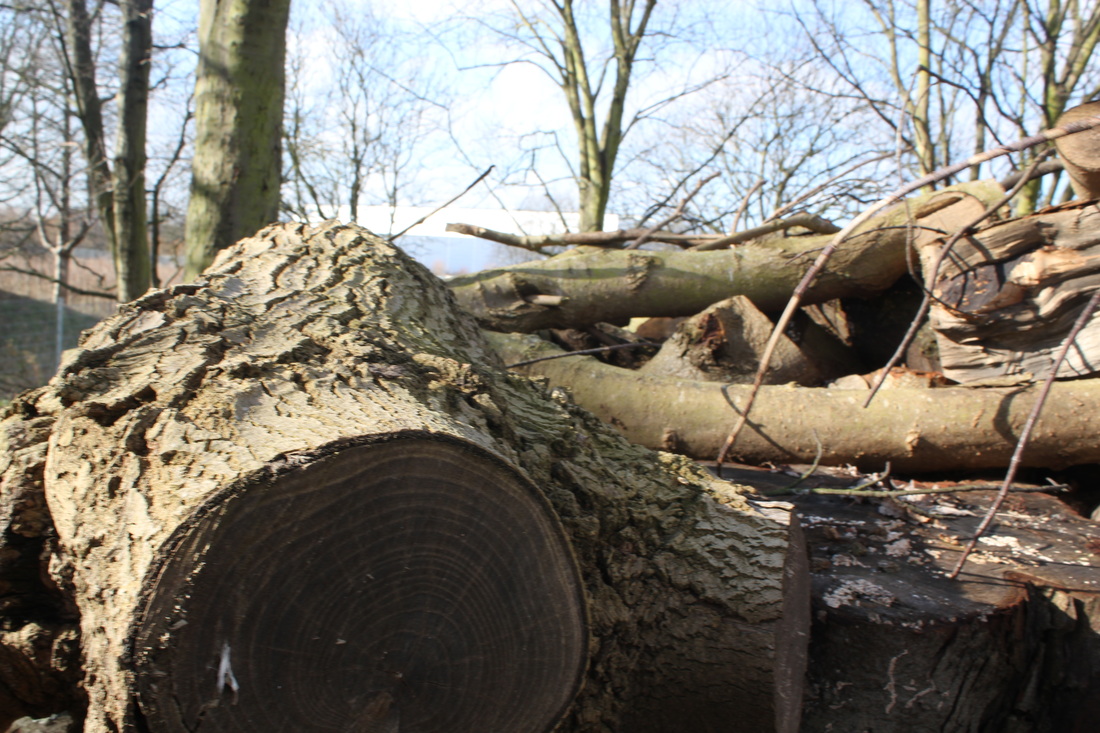
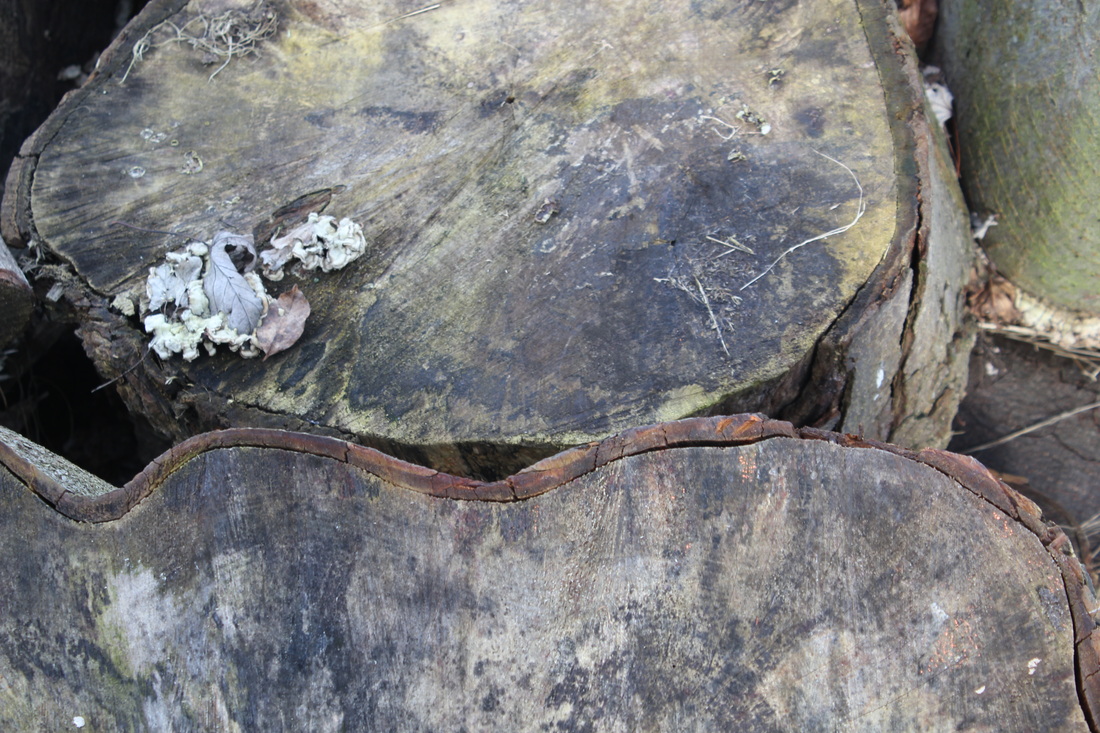
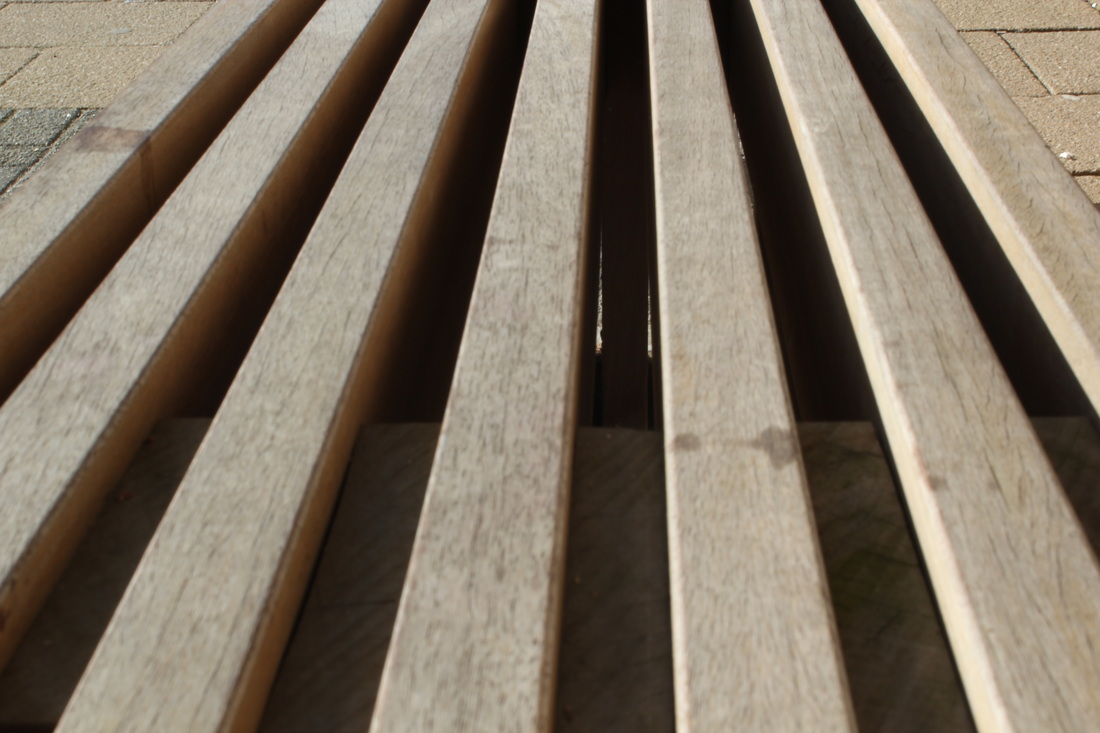
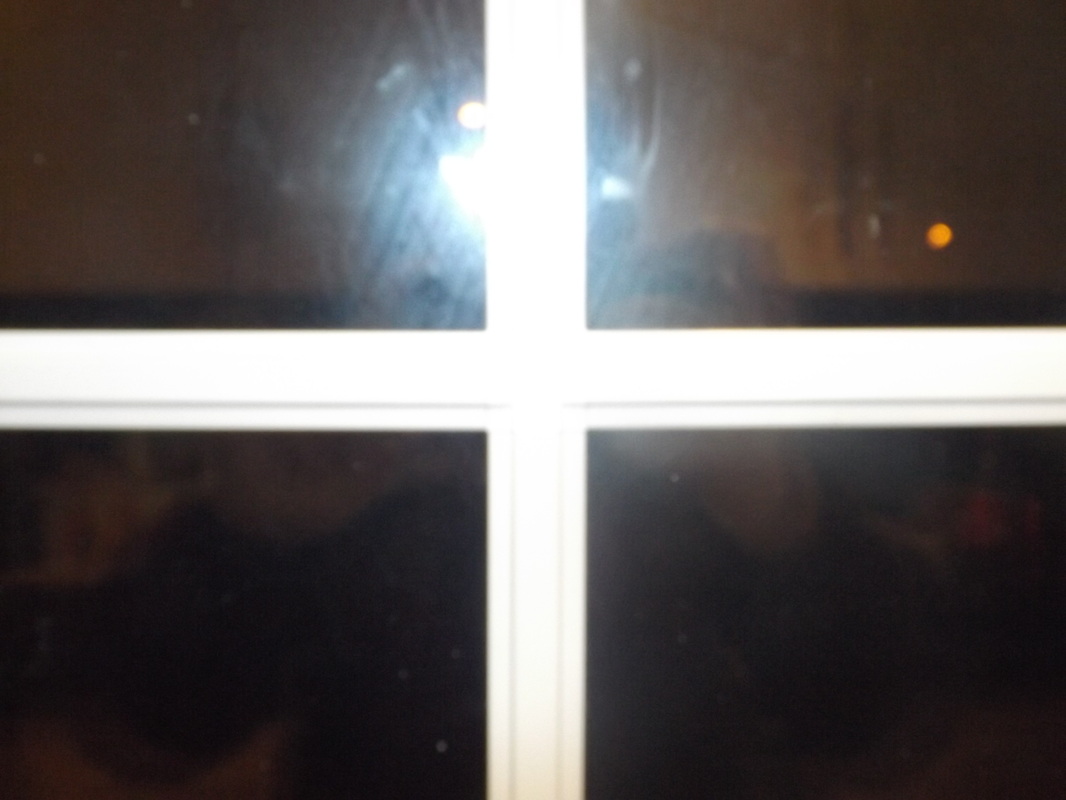
I particularly like this photo because there is so many edges in it. I also like the shapes that you can find in the photo for example triangles and rectangles. To this better I think I could zoom out a little it so you can tell what it is. Also if i zoomed out there would be even more edges.
I particularly like this photo because there is so many edges in it. I also like the shapes that you can find in the photo for example triangles and rectangles. To this better I think I could zoom out a little it so you can tell what it is. Also if i zoomed out there would be even more edges.
photos 2


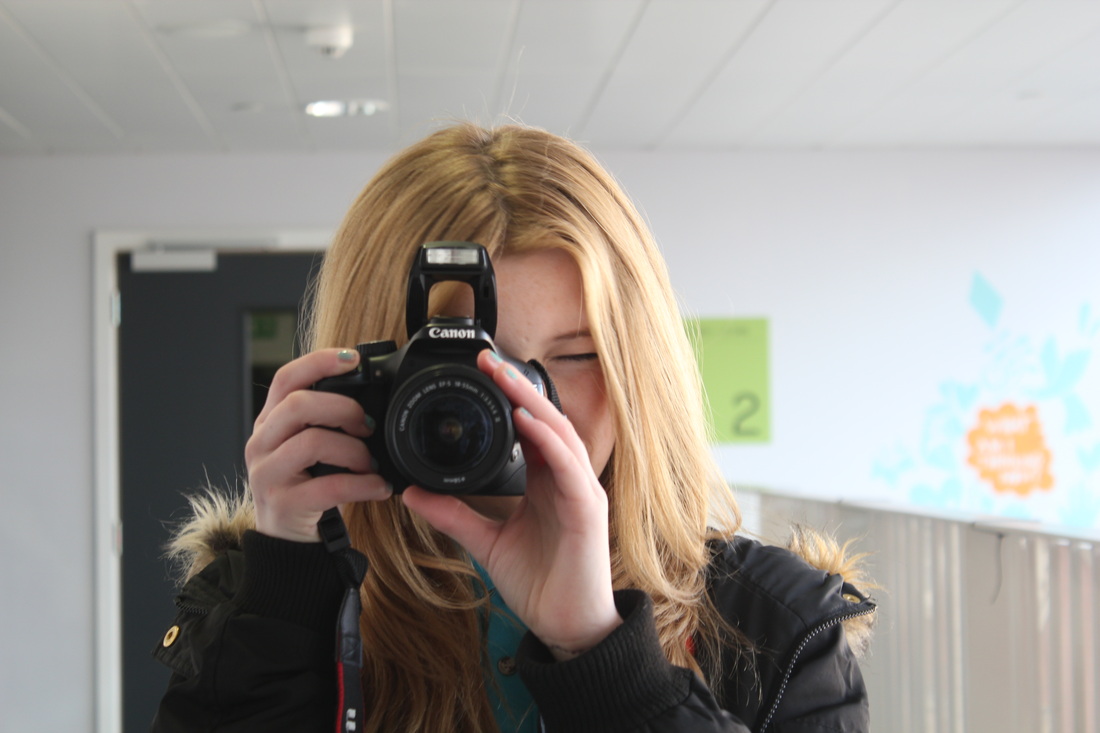
Pictures taken with the dlsr

Edits
|
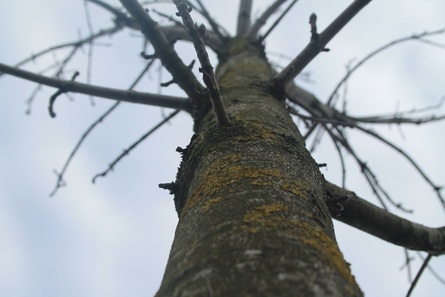
Before
|
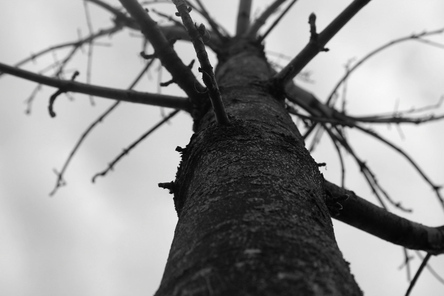
After
|
|
|
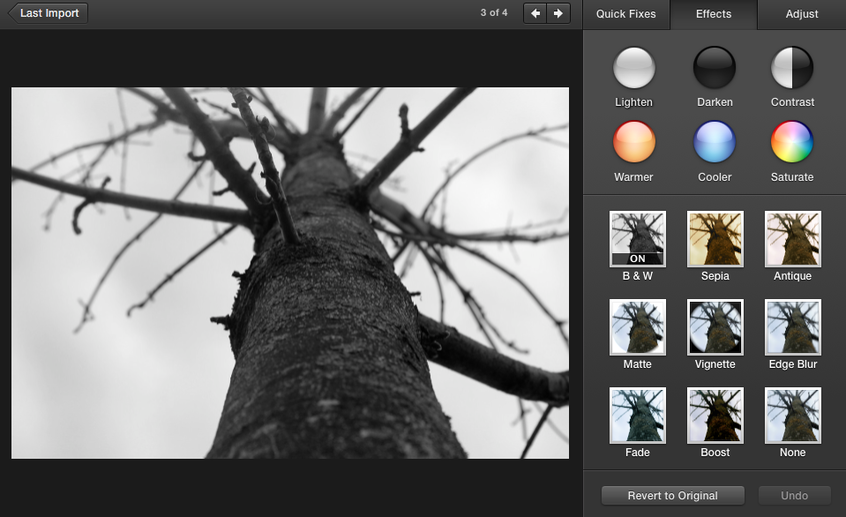
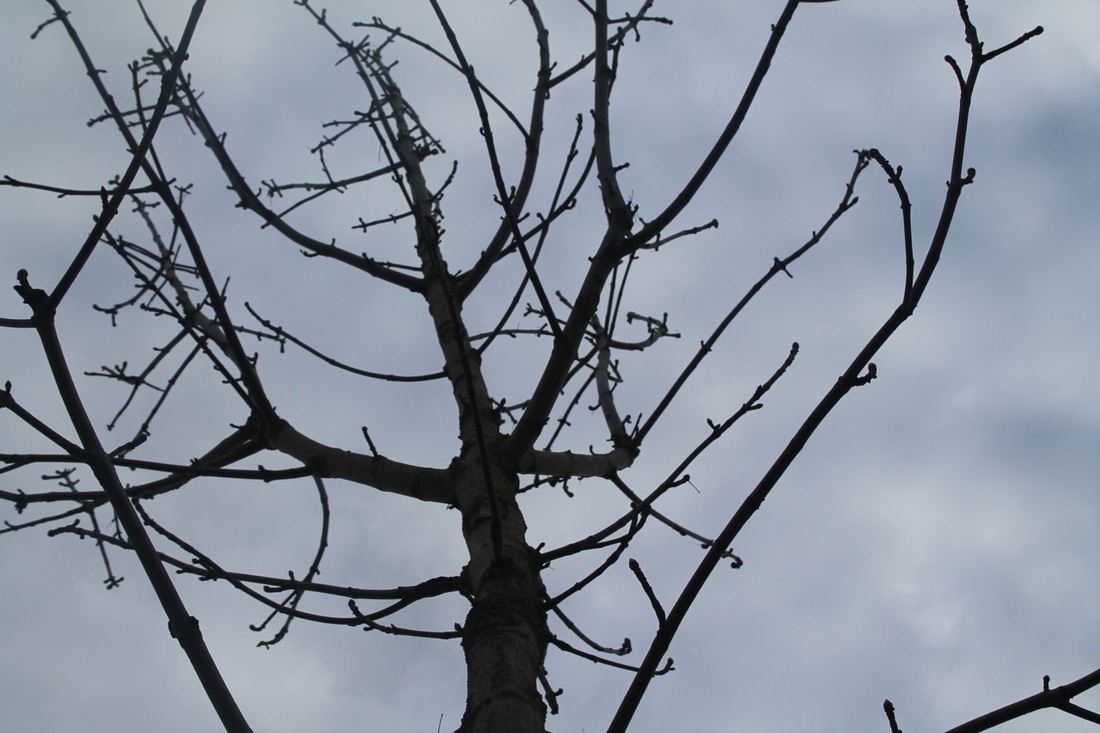
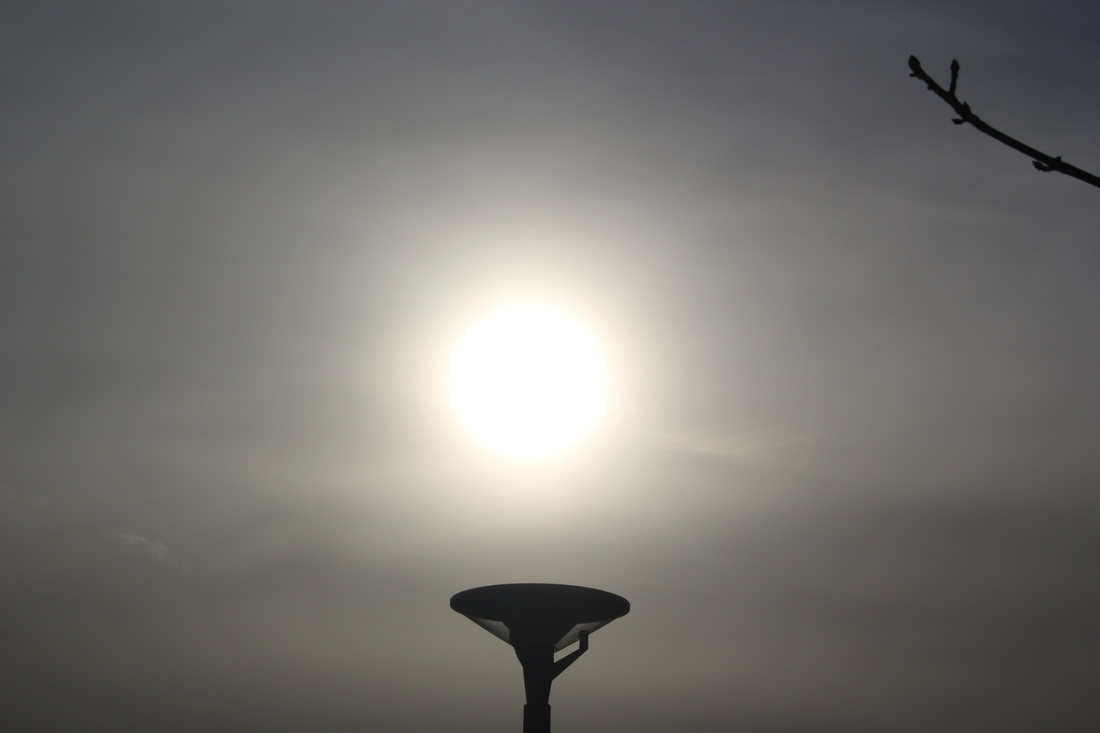
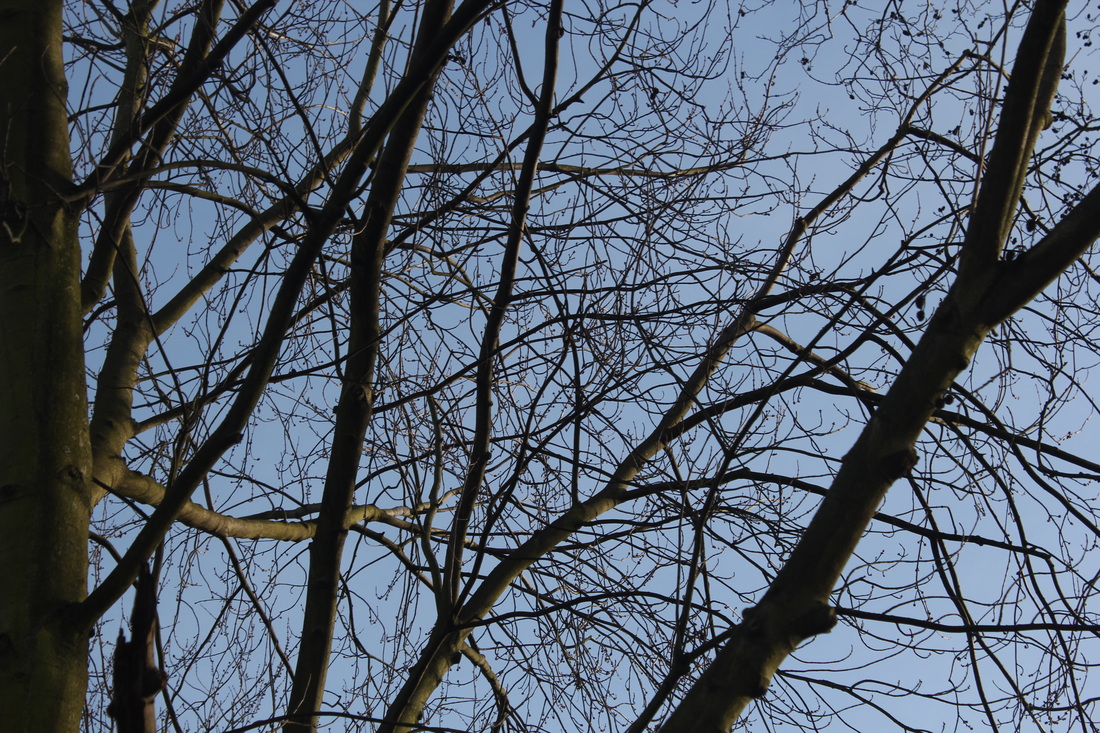
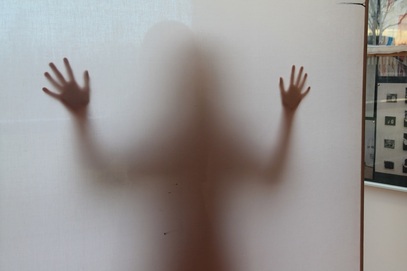
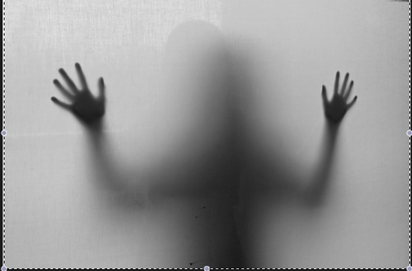
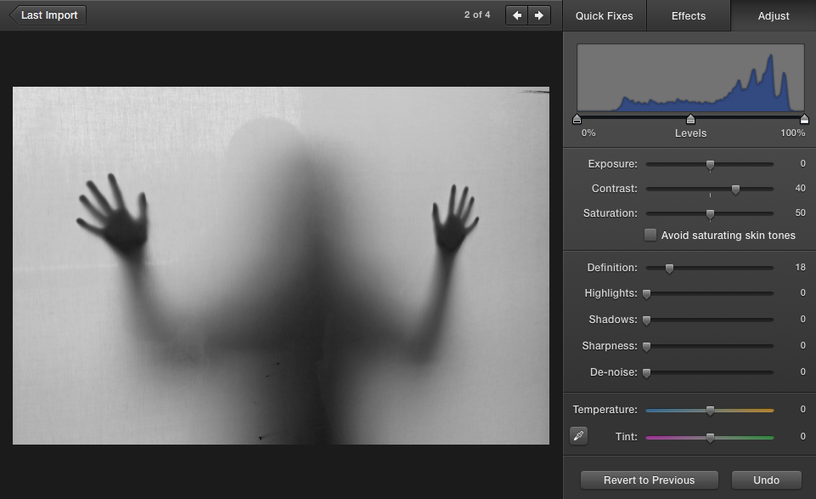
I made this photo into black and white and increased the contrast. I did because I was interested in the shape of the tree against the sky. I made the trunk and the branches darker so the tree became a silhouette. I was also interested in the shape of the tree, not only could this be a tree it could be a body with limbs. I got this idea from comparing this photo to another photo I took.
|
Before
|
After
|
Randy grskovic
|
|
Randy Grskovic is an Artist who lives in Toronto, Ontario. He had a Bachelor of Fine Arts, in Advanced Media communication, from the University of British Columbia, Okanagan. He has shown his artwork in exhibitions all across Canada. |
|
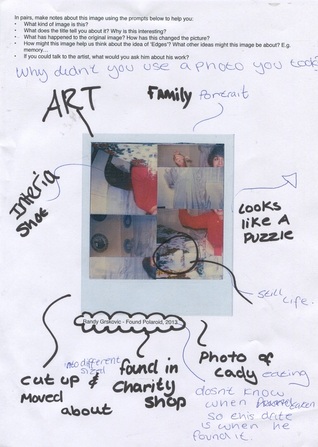
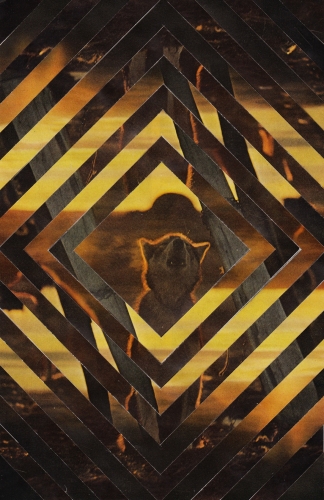
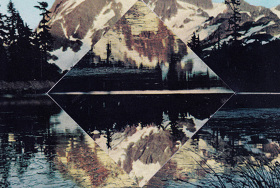
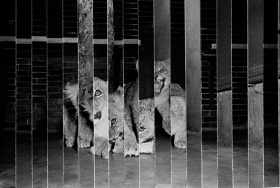
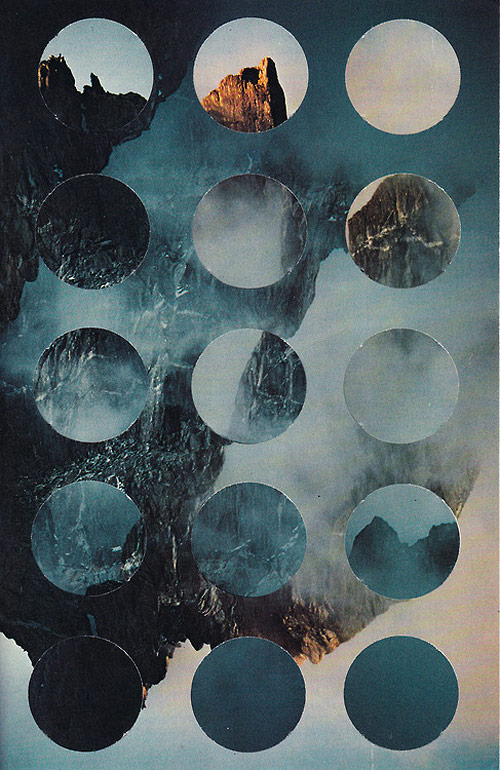
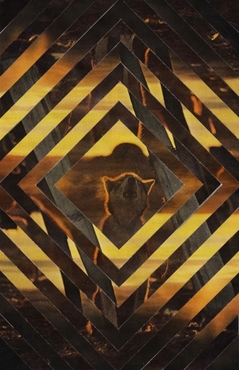
I like this photo in particular because of the pattern that he made by cutting up the original photo. I think the colours make the wolf in the middle stand out because they are the wrong way round. In this photo there are a lot of edges which links to my project, I really like the way there are squares are almost circling the middle image making it stand out. I like how the yellow overlays the darker brown and I think it makes the photo look calm.I would like to try and make a photo like this because I really like the effect he made by cutting the picture into squares. I think the photo stands out and could work with many other pictures that have two main colours. |
Abigail Reynolds
|
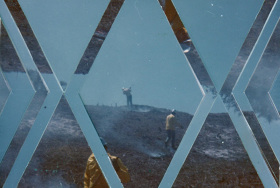
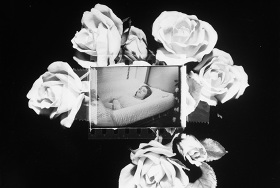
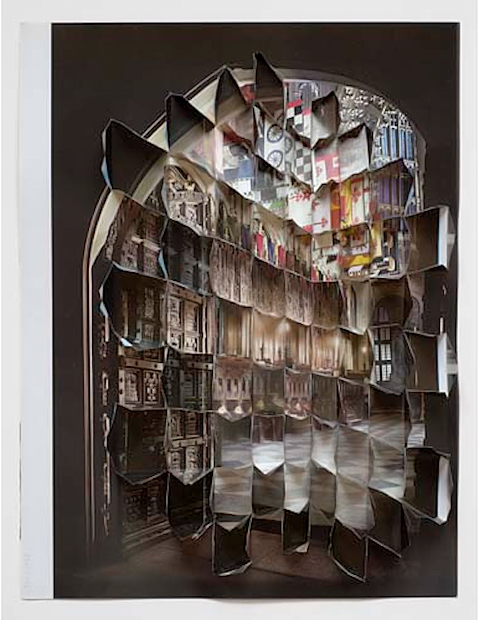
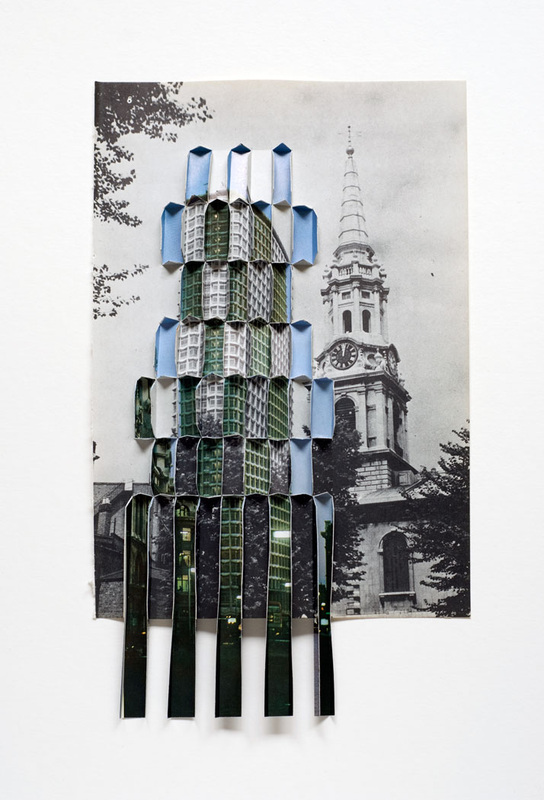
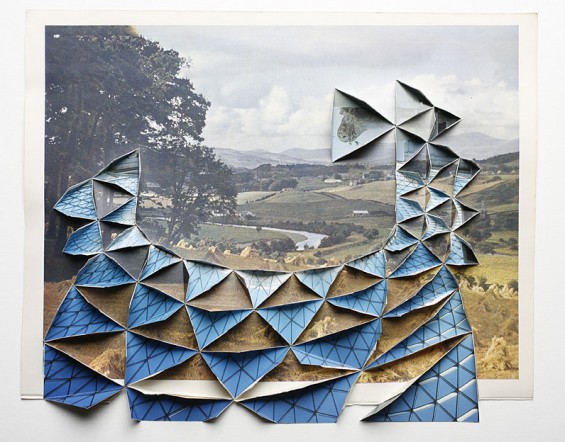
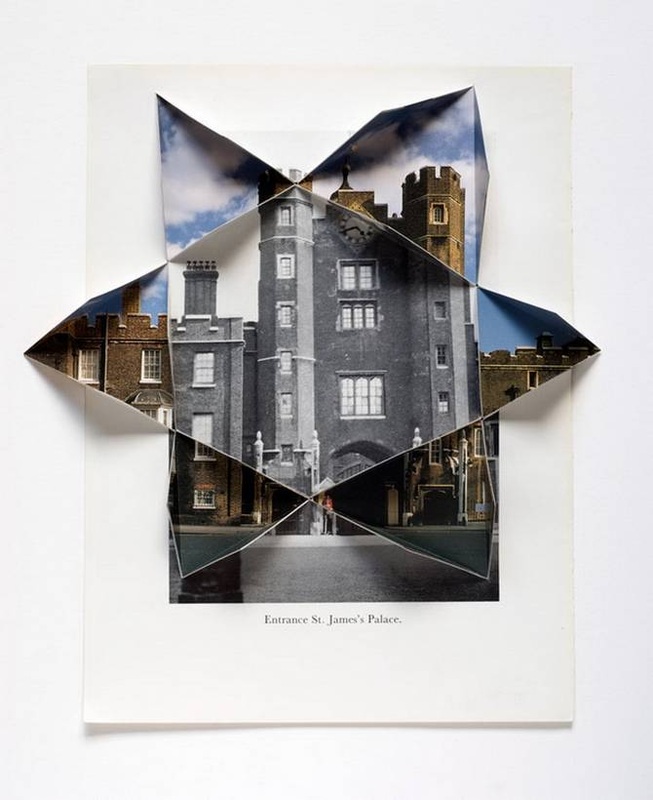
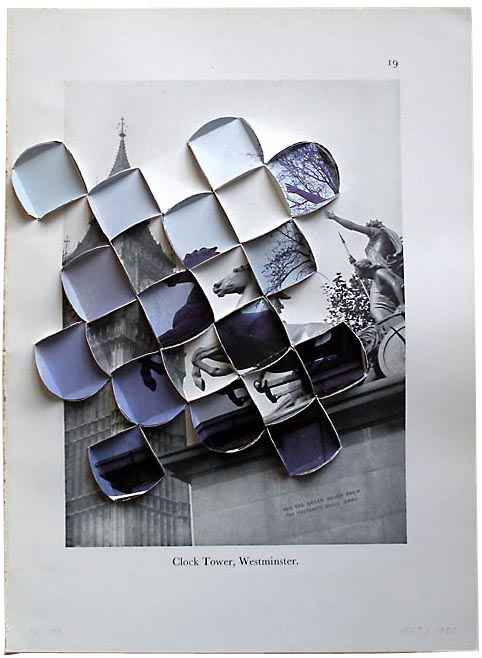
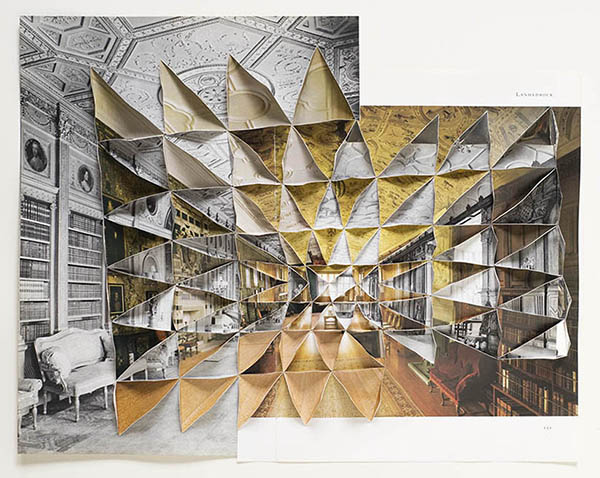
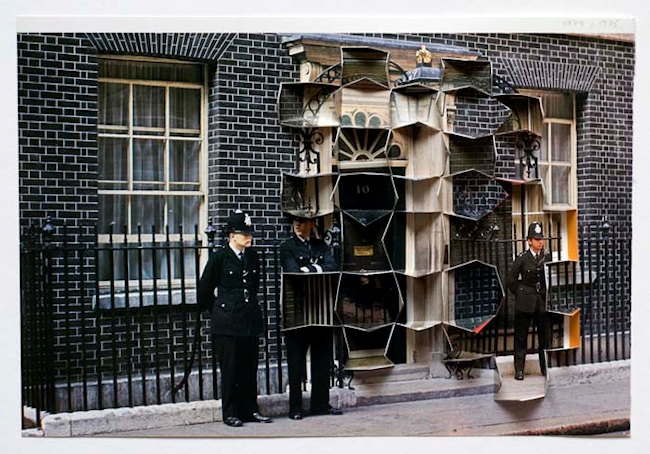
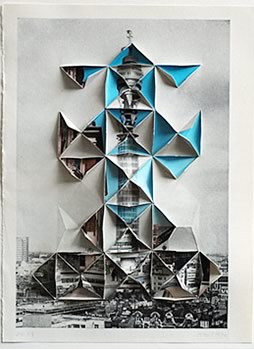
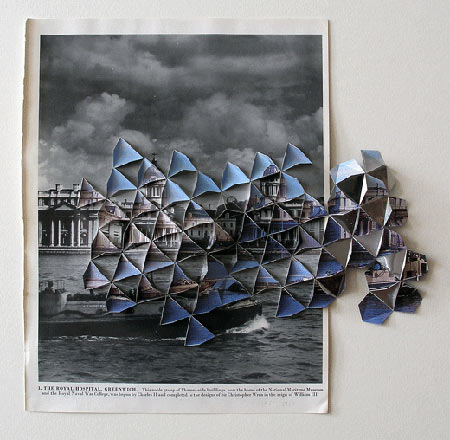
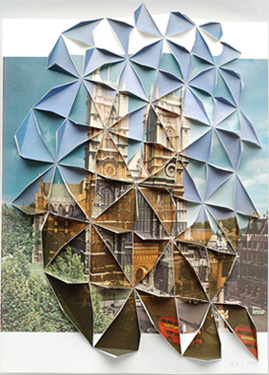
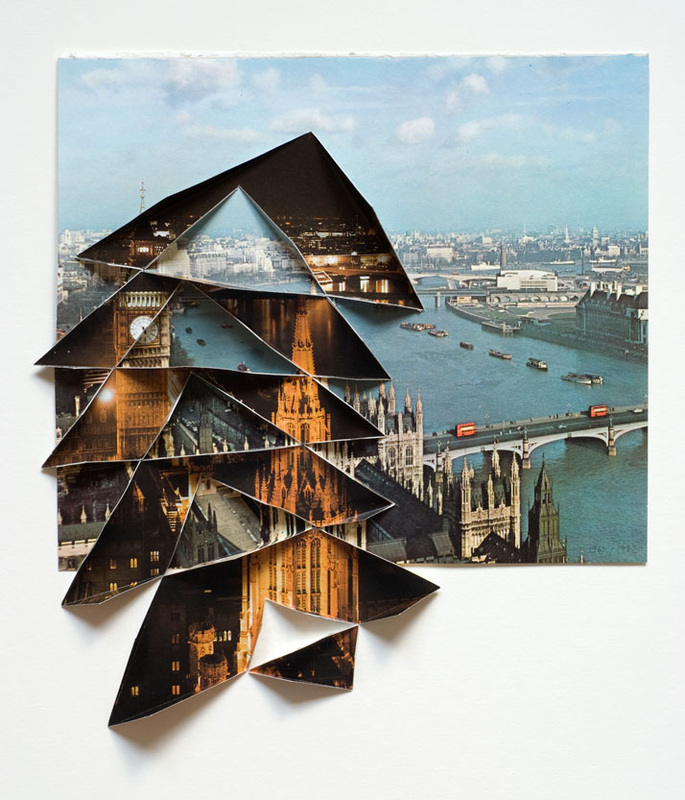
Abigail Reynolds finds old books to use for her photos. She collects books and old photographs from atlases,Books and tourist guides.She then makes them into 3D collages.Recently she has made photos using books and images with coloured glass, this makes layers that landscape images and texts can be seen and read. I decided to research her because I find her work very interesting and I would love to try and make a piece like hers. I think the 3D really makes the picture different and unique, this really appeals to me because I want my photographs to be different and abstract just like hers. I also really like the photo behind the 3D collages, I think she captures really beautiful surroundings and they really come to life after she has added her collage to it. I think Abigail Reynolds is an amazing photographer and I would really like to make some work like that of my own in the future. 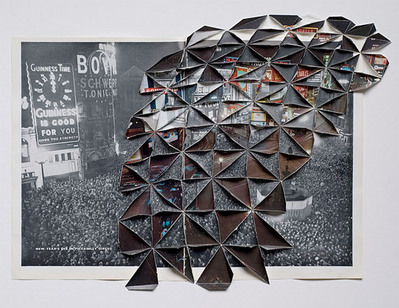
|
I particularly like this piece because of the curved edge she has made with her collage. I really like the way it comes of the actual photograph making a photo in photo. Also I like the way the background image is black and white but the 3D bit of the photo puts some colour into the image, I think this works really well. If I made a photo like this I use the same concept as Abigail Reynolds because the coloured image against the black and white image works well and shows of the background photo a little bit more. |

|
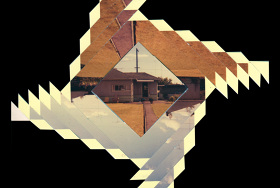
To make this photo I used photoshop. I used Randy Grskovic as my inspiration and made this photo.I really like it because of the contrast between the black and white images compared to the coloured main image. I also really the shape I used because you can clearly see where the Shape is and what it is. This also links to edges because the shape inside the picture has a very clear edge. If I could do this again i think i would try a different shape to see the different effects. I would also change where the shapes are positioned so you could see more of the main picture. |
|
photos from home


Photoshop experiment
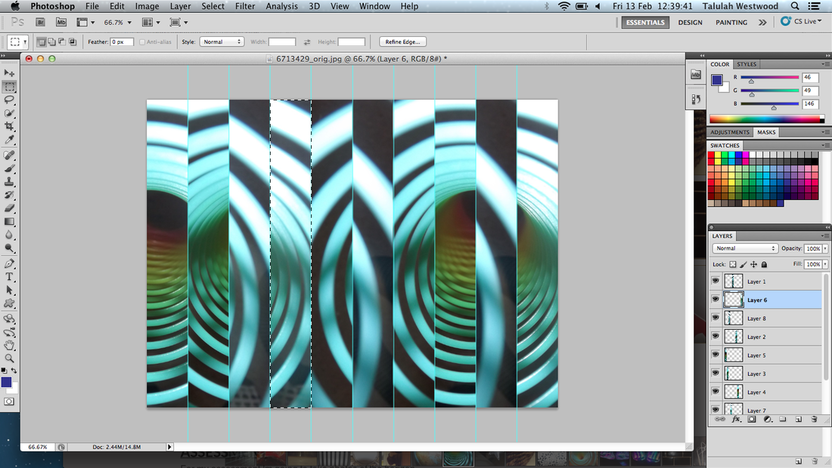
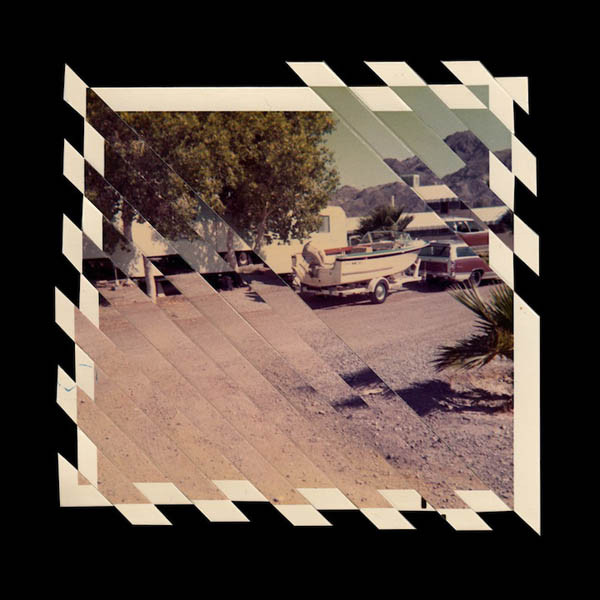
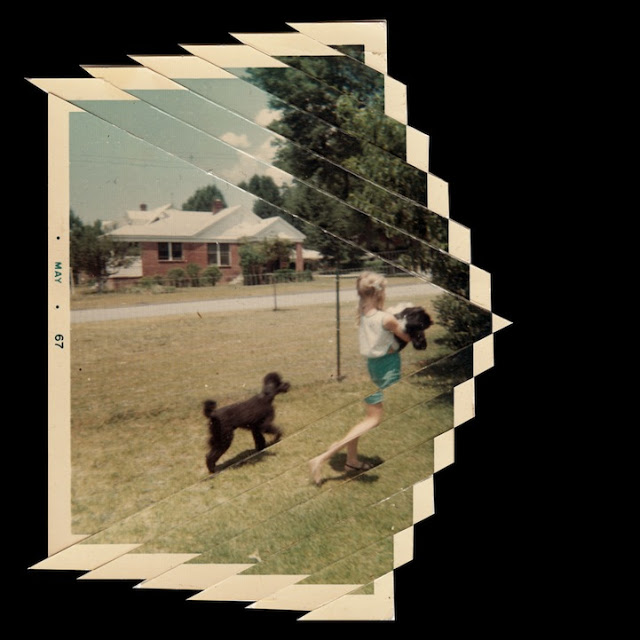
To make this photo I used Photoshop, I went on view and split the screen into 10 sections. I then copy and past one of the sections and moved it to a different space. I done this for all sections and I'm happy with how it turned out. I done this because I wanted the photo to be abstract so people could not be able to figure out what it is so that they concentrate on the edges that are in the picture.

|
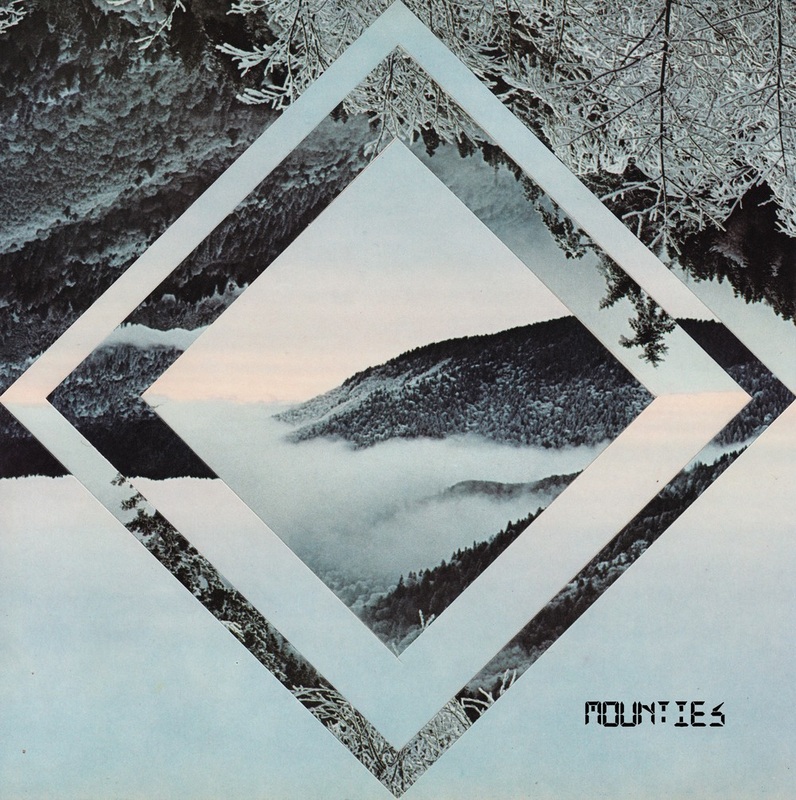
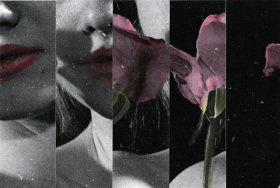
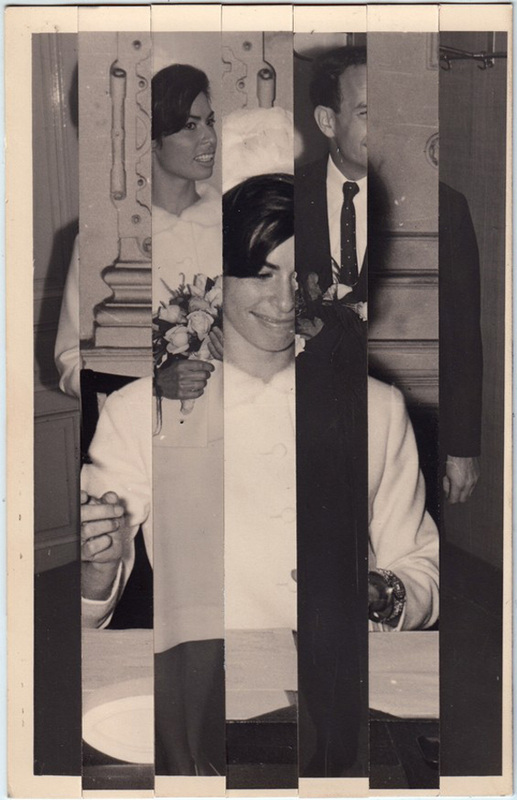
This is a picture of a celebrity called Ariana Grande. I put the picture into Photoshop and distorted it. I did this by using the custom shape tool to draw rectangles over the original photo, then I copy the background and link the two layers by pressing 'alt' and hovering over the two layers.Then I move the copied background to get this effect. I did this 11 times until the picture looked like this. I did this because I want people not to focus on the girl but to focus on her features and the edges. Not only is there edges of a silhouette in this photo but there is edges around the photo and on the rectangles that I have placed in the photo. I would like to use this photo for my assessment because I think it portrays edges really well and I really like the way it turned out. I done this photo using photoshop, I used the custom shape tool to draw a diamond over the background image. I then copied the backed image and pressed 'alt' in between the two images. I done this 5 times. I done because I got inspiration from Randy Grskovics Image. I really liked it so I copied his technique. I liked the way it turned out because you focus more the outside then the middle. To make it better I would have used a different picture and made the Diamonds thiner. |
Through out this course I have researched Randy Grskovic, I found him through my teacher Mr Nicholls.I am glad he recommended him because I really like the way he portrays Edges in his photos. I did a lot of research on him and I really like his work especially the picture called 'Howl'. I really like it because of the pattern that he made by cutting up the original photo. I think the colours make the wolf in the middle stand out because they are the wrong way round. I really like the way there are squares are almost circling the middle image making it stand out,I like how the yellow overlays the darker brown and I think it makes the photo look calm. From studying his work I have learned how cutting up an image can make it look more effective.
I think I successfully explored the theme Edges because I went from not knowing how an edge could change a picture to knowing how to completely change a picture just by playing around with the Edges. The theme edges was extremely interesting because I found out how different type of edges can make you see a photo in a different way. I think Randy Grskovics theme on edges really works as it makes a normal photo much more interesting, cool and more fun to look at. In this theme I think personally I made some really cool pieces of work that I didn't even know was possible to make from just the word 'edges'. I really was amazed and proud of myself because of the work I produced in this project and I now know how changing one simple edge on a photo can make such a differnece and make a picture so much better.
I explored many techniques for example; photo shop, cutting up an image and just simply taking an image. I practice all of these techniques and realised that I liked photo shop the most. However there is examples of them on my website. I explored taking an image first and my first thoughts on it was that it would be hard to take a picture of a edge. But I learned that everything has a edge, for example, outside of shapes, silhouette, even the outside of a image. This made it a lot easier to explore that technique.The next technique I explored was the cutting up an image.To do this I found a photo I took and I cut it into strips, then I glued it onto some black card in a abstract way. I done this so the person looking at it could look more at the edges more than the picture itself. I didn't really like the way my picture turned out because it didn't look they way I thought it would.Next time I would plan it before gluing it down, that way it would turn out the way I pictured. My first thoughts on this technique is that it was going to be easy and the pictures would look very effective. However as I has a go myself I learned that it was a lot hared then it seemed. To make your picture look effective you would have to make sure everything is the same size and have a clear image of what you want in your head. I think this technique was my least favourite.The final technique I explored was the use of photo shop. I liked this one the most because I felt more confident in using photo shop and I knew what I was trying to achieve and photo shop had the right tools to do it. In the lesson my teacher taught me how to use a technique to really show off edges. This technique is when you draw a shape onto of your background using the custom shape tool, copy the background layer, linking the two layers by pressing 'alt' and then moving the copied background to where you want it. Not only did I find this technique the easiest but I really like the way the picture looks. My first thoughts on this technique was that I would really like it because I'm confident with using photo shop and I have seen some beautiful pictures that have used the same effect. After trying all these techniques I decided that I liked the photo shop method the best and I was going to use it for my assessment.
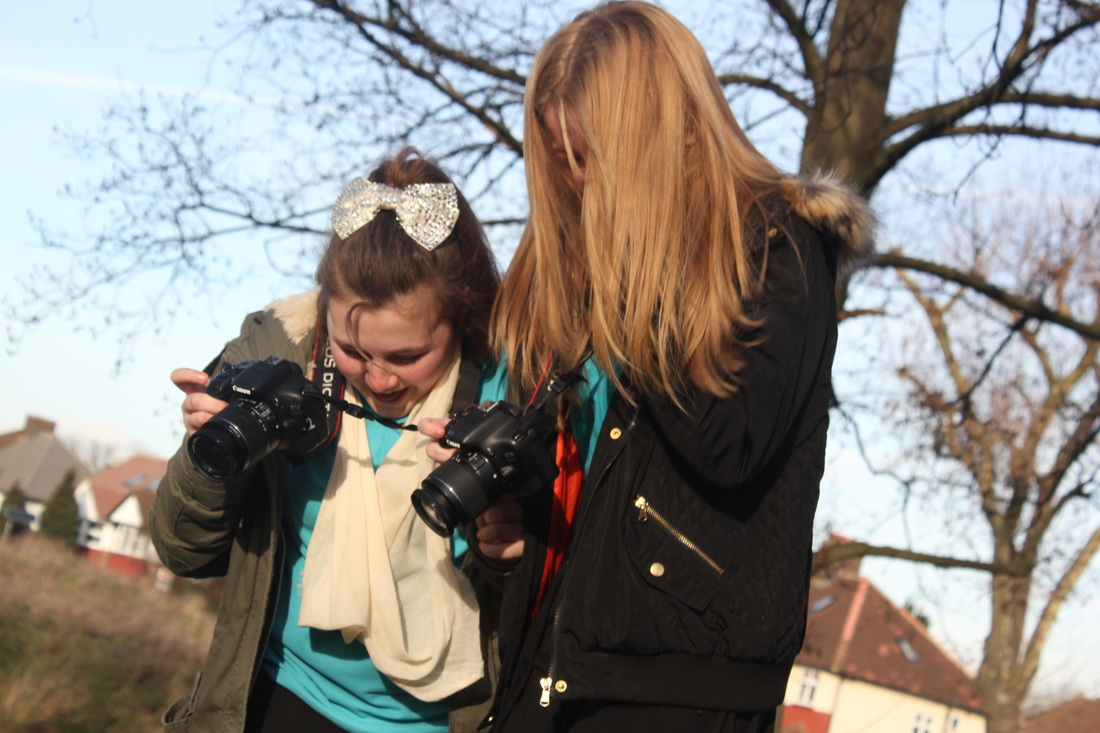
At the end of this Personal Project I made a piece of work I am very proud off. I used Photo shop to edited a picture I took of my friend Lili, and edited shapes on it to add more edges to my photo. I done this because I saw a photo similar and it really inspired me also It fit with my theme really well as I was incorporating edges from shapes into a photo that already had edges. I then filled the shape with the original image, not only did this give a good effect it showed more edges and it made the photo much more interesting to look at. My end goal for this project was to make something that was different and interesting, I did want to create a picture that I physical made (cutting and glueing) however when I tried it, it didn't work out for me I then realised that I was better at photo shop. So I tried to make the Picture digitally. If I had more time I would have liked to try weaving or a Cyanotype because I think they would really work well and look really cool. I would really like to try weaving because it is like making a photo with photo shop in real. Also the photo would be better to look at as you would be able to see all layers to each weave. I think my work is person not only because it is a photo of a friend I have taken but because I have edited it and I have been through the journey to work out what I wanted from this project and to learn more about edges. It means a lot to me to know that all my hard work has paid of and I have a end result to something I have been working very hard for. It means a lot to me to know that my work will be viewed because if one person likes it,it means I have successfully made something people would like to see and if one person likes it it means that more people might. I hope from my photo or my website that people can see that I really enjoy making photos and I hope that one day I could be a Photographer that people like and my work can be viewed by many. I hope that people can learn from my website and make there own amazing photos that they are proud off and become fans of photography. Finally I hope that people enjoy my work and learn from it.
I think I successfully explored the theme Edges because I went from not knowing how an edge could change a picture to knowing how to completely change a picture just by playing around with the Edges. The theme edges was extremely interesting because I found out how different type of edges can make you see a photo in a different way. I think Randy Grskovics theme on edges really works as it makes a normal photo much more interesting, cool and more fun to look at. In this theme I think personally I made some really cool pieces of work that I didn't even know was possible to make from just the word 'edges'. I really was amazed and proud of myself because of the work I produced in this project and I now know how changing one simple edge on a photo can make such a differnece and make a picture so much better.
I explored many techniques for example; photo shop, cutting up an image and just simply taking an image. I practice all of these techniques and realised that I liked photo shop the most. However there is examples of them on my website. I explored taking an image first and my first thoughts on it was that it would be hard to take a picture of a edge. But I learned that everything has a edge, for example, outside of shapes, silhouette, even the outside of a image. This made it a lot easier to explore that technique.The next technique I explored was the cutting up an image.To do this I found a photo I took and I cut it into strips, then I glued it onto some black card in a abstract way. I done this so the person looking at it could look more at the edges more than the picture itself. I didn't really like the way my picture turned out because it didn't look they way I thought it would.Next time I would plan it before gluing it down, that way it would turn out the way I pictured. My first thoughts on this technique is that it was going to be easy and the pictures would look very effective. However as I has a go myself I learned that it was a lot hared then it seemed. To make your picture look effective you would have to make sure everything is the same size and have a clear image of what you want in your head. I think this technique was my least favourite.The final technique I explored was the use of photo shop. I liked this one the most because I felt more confident in using photo shop and I knew what I was trying to achieve and photo shop had the right tools to do it. In the lesson my teacher taught me how to use a technique to really show off edges. This technique is when you draw a shape onto of your background using the custom shape tool, copy the background layer, linking the two layers by pressing 'alt' and then moving the copied background to where you want it. Not only did I find this technique the easiest but I really like the way the picture looks. My first thoughts on this technique was that I would really like it because I'm confident with using photo shop and I have seen some beautiful pictures that have used the same effect. After trying all these techniques I decided that I liked the photo shop method the best and I was going to use it for my assessment.
At the end of this Personal Project I made a piece of work I am very proud off. I used Photo shop to edited a picture I took of my friend Lili, and edited shapes on it to add more edges to my photo. I done this because I saw a photo similar and it really inspired me also It fit with my theme really well as I was incorporating edges from shapes into a photo that already had edges. I then filled the shape with the original image, not only did this give a good effect it showed more edges and it made the photo much more interesting to look at. My end goal for this project was to make something that was different and interesting, I did want to create a picture that I physical made (cutting and glueing) however when I tried it, it didn't work out for me I then realised that I was better at photo shop. So I tried to make the Picture digitally. If I had more time I would have liked to try weaving or a Cyanotype because I think they would really work well and look really cool. I would really like to try weaving because it is like making a photo with photo shop in real. Also the photo would be better to look at as you would be able to see all layers to each weave. I think my work is person not only because it is a photo of a friend I have taken but because I have edited it and I have been through the journey to work out what I wanted from this project and to learn more about edges. It means a lot to me to know that all my hard work has paid of and I have a end result to something I have been working very hard for. It means a lot to me to know that my work will be viewed because if one person likes it,it means I have successfully made something people would like to see and if one person likes it it means that more people might. I hope from my photo or my website that people can see that I really enjoy making photos and I hope that one day I could be a Photographer that people like and my work can be viewed by many. I hope that people can learn from my website and make there own amazing photos that they are proud off and become fans of photography. Finally I hope that people enjoy my work and learn from it.
